


Introduction
In Task 4, I created an basic inventory app for storing any product. I used Flask framework and MongoDB for storage. Also I hosted the app on Azure Web App Service.
Steps Followed:
Step 1: I created a rough sketch and designed the model for the application and followed the model to implement the solution
Inventory Model
In this inventory, any product can stored. The product categories are:
- Raw Materials
- Finished Goods
- Maintenance Goods
- Repair Goods
- Operations Goods
- Packing materials
I assigned two roles for using the Inventory:
Management: Management acts as the overall supervisor who can monitor the products uploaded and maintains the users.
User: Users involve in the products maintenance. Products can be uploaded only by the users.
Step 2: Since the application is a very basic model, I did not involve in complex structuring (Like Using Blueprints and stuff).
Structure of the Application
└── App
    └── screens
        ├── favicon.png
        ├── style.css
    └── templates
        ├── 404.html
        ├── index.html
        ├── layout.html
        ├── login.html
        ├── management.html
        ├── products.html
        ├── signup.html
        ├── user.html
        ├── users.html
    ├── .gitignore
    ├── app.py
    ├── credentials.json
    ├── db.py
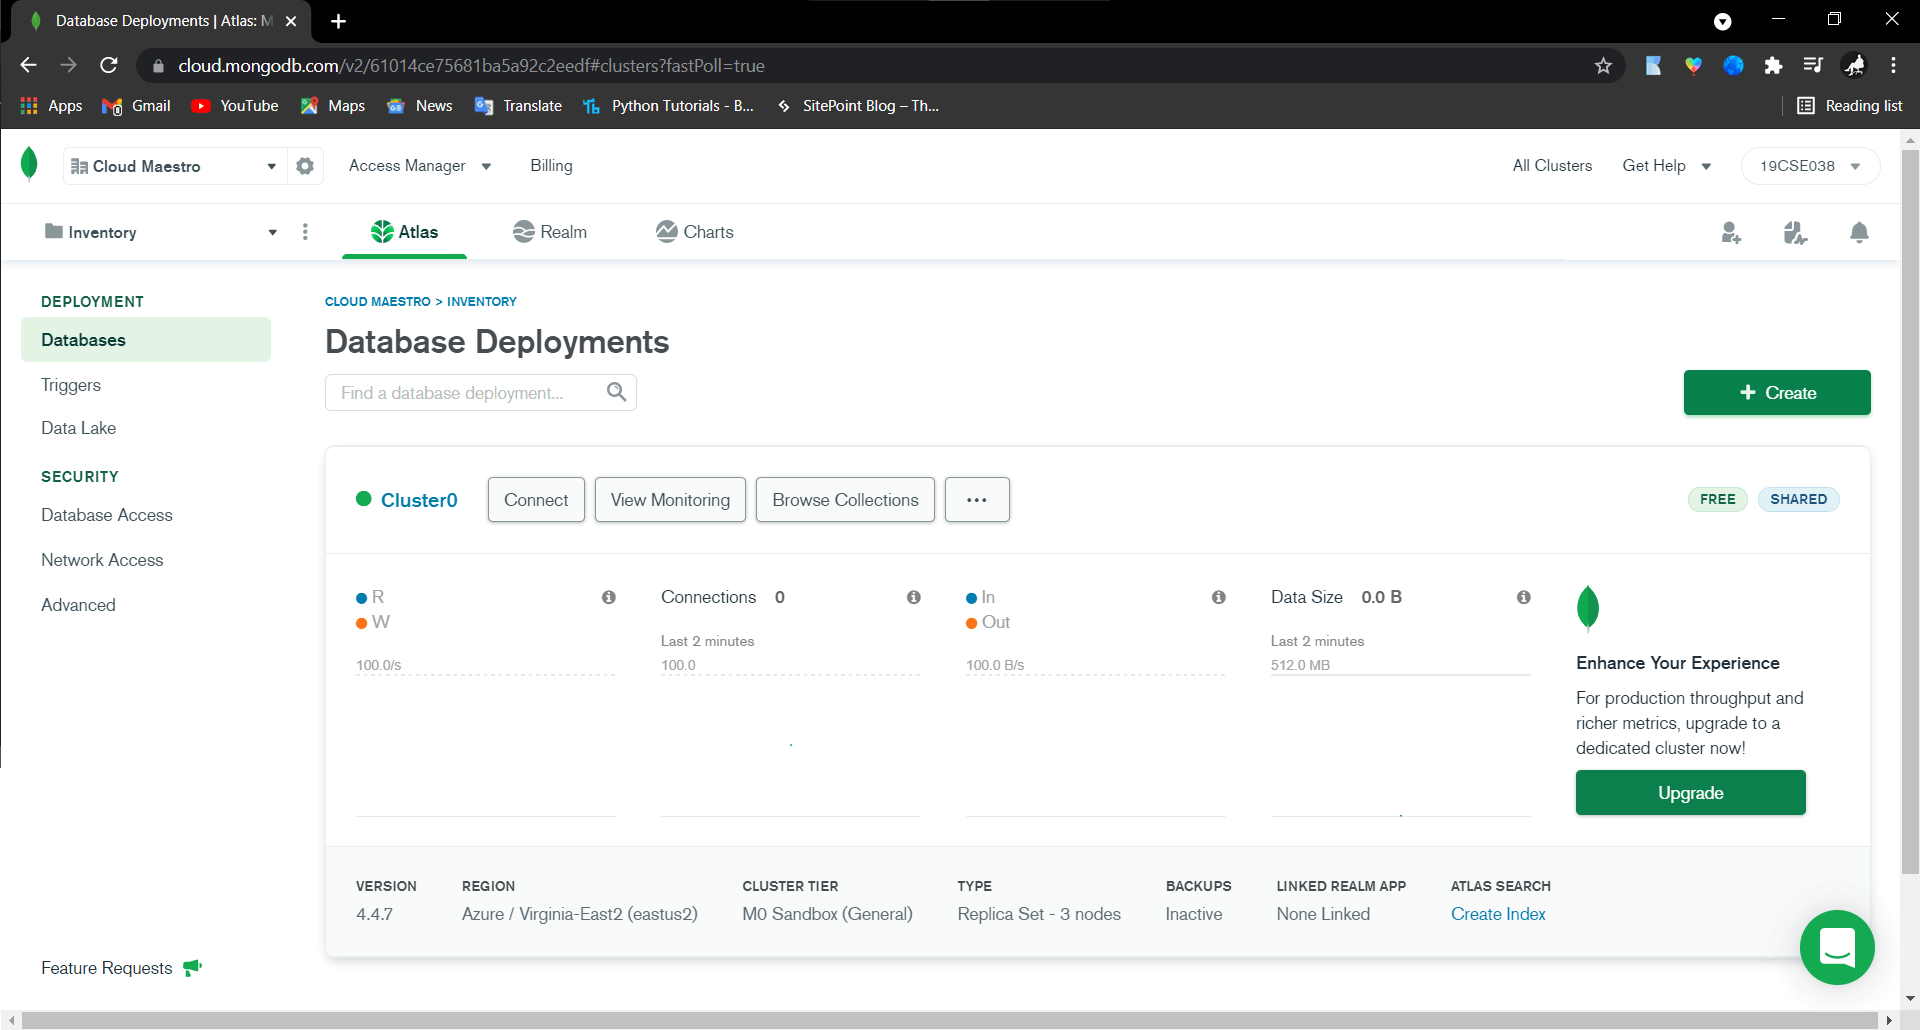
Step 3: I created the MongoDB Cluster in the platform for storage and acquired the necessary credentials for establishing the connection.
Step 4: In one and a half day, I got a working basic standalone application.
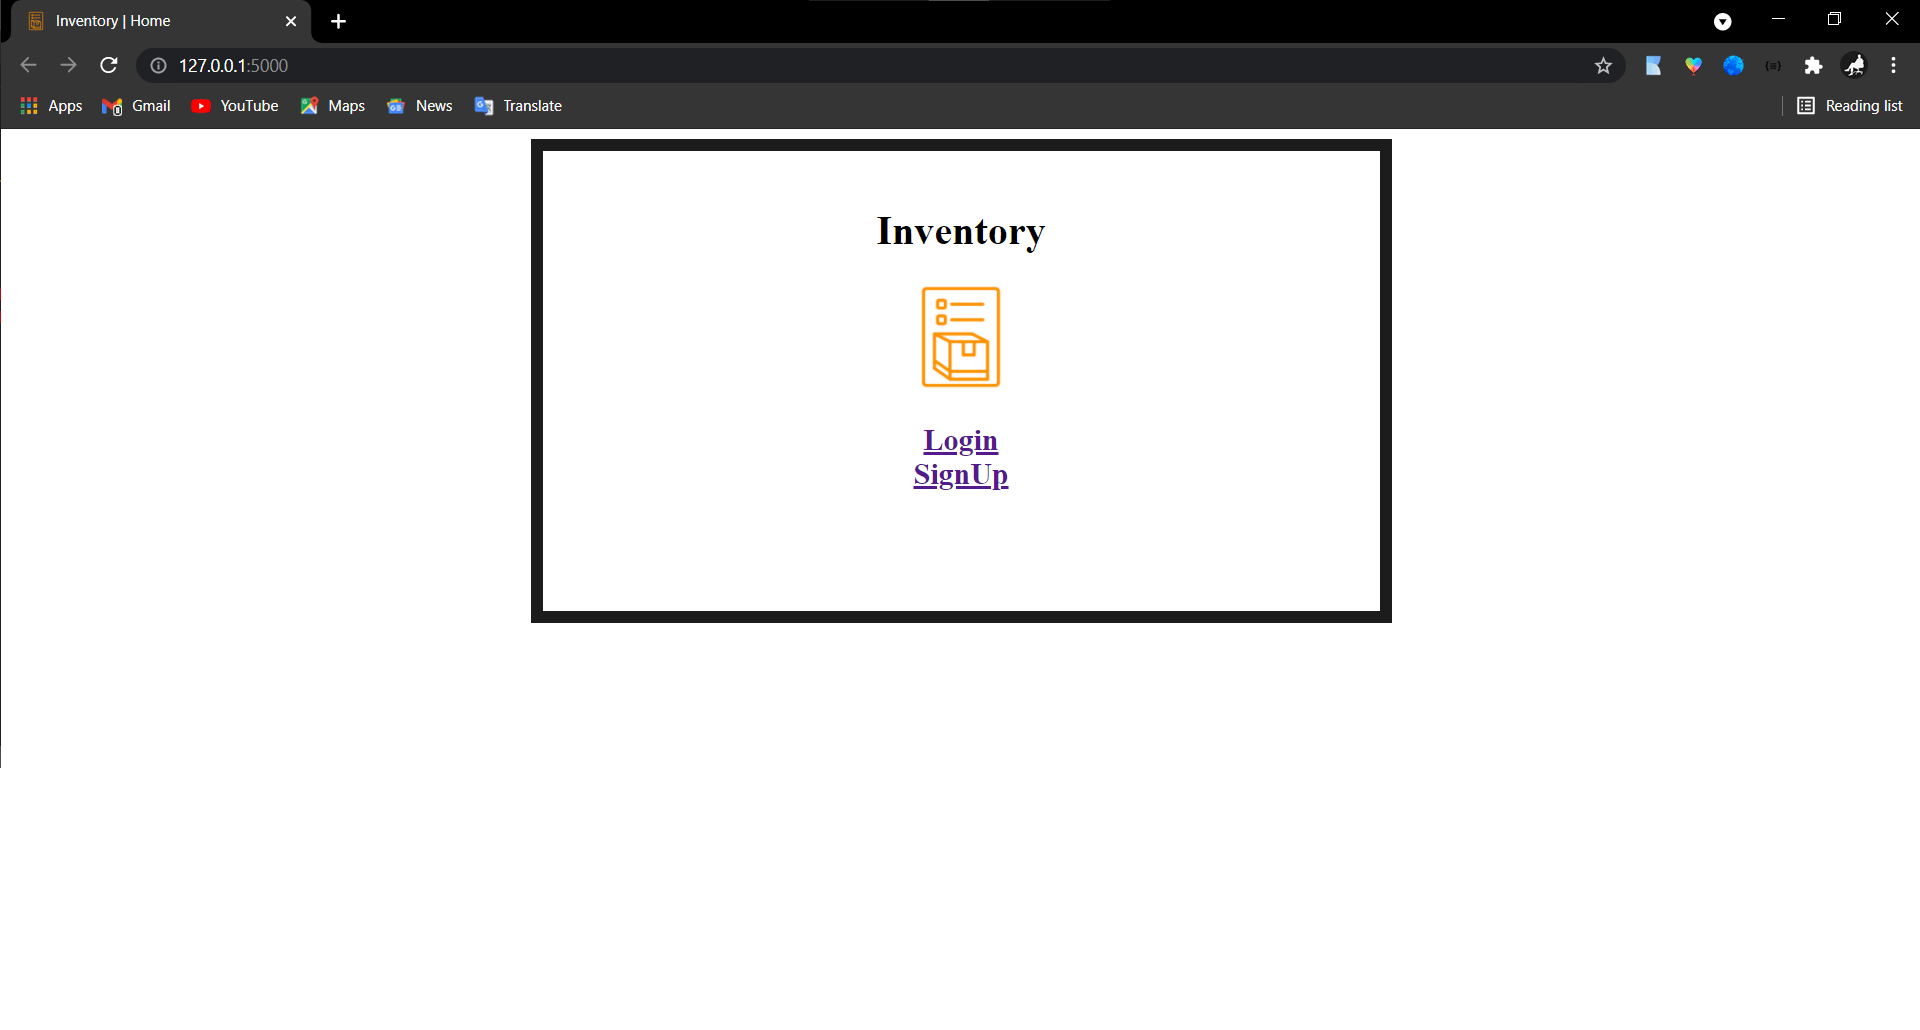
Step 5: Application worked fine and so I decided to move on the deployment
- Downloaded the Azure CLI for my powershell
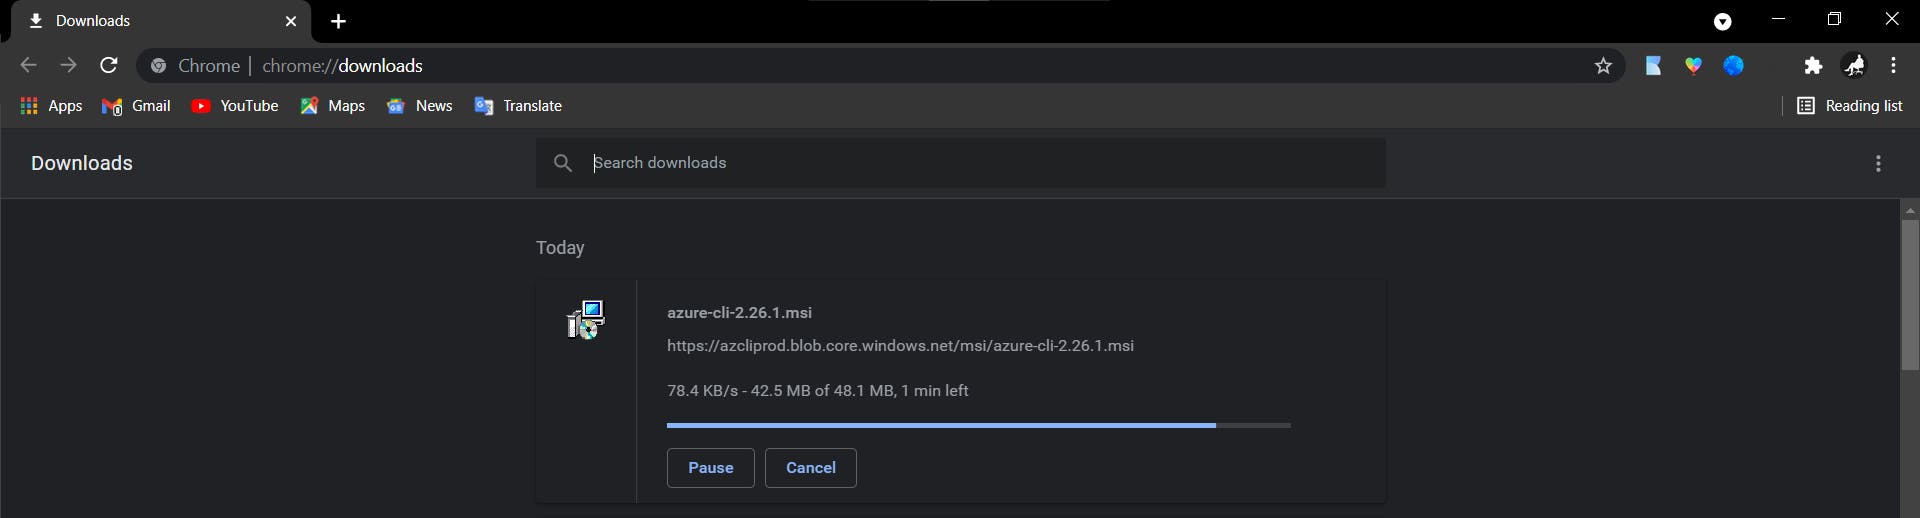
- After the successful setup, I deployed the flask app to Azure using the command
az webapp up --sku B1 --name cminventory
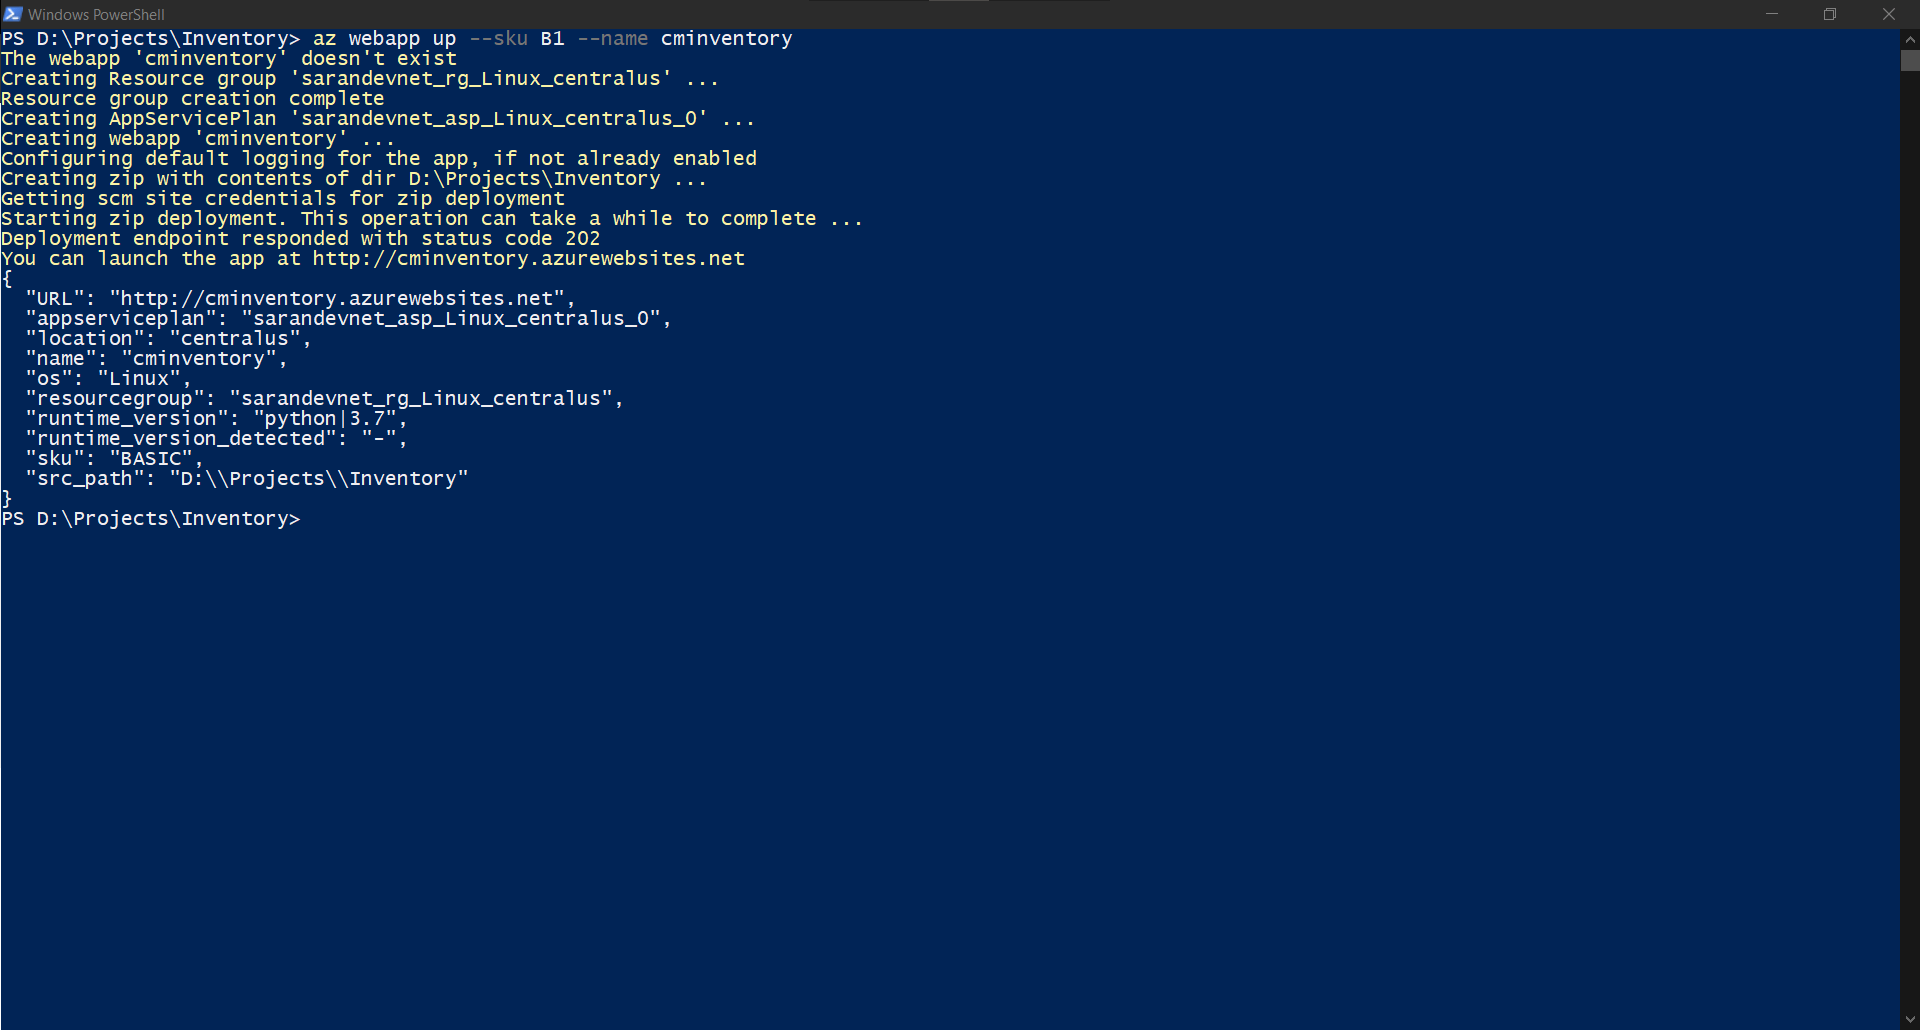
Step 6: I opened the cminventory.azurewebsites.net and everything worked fine.
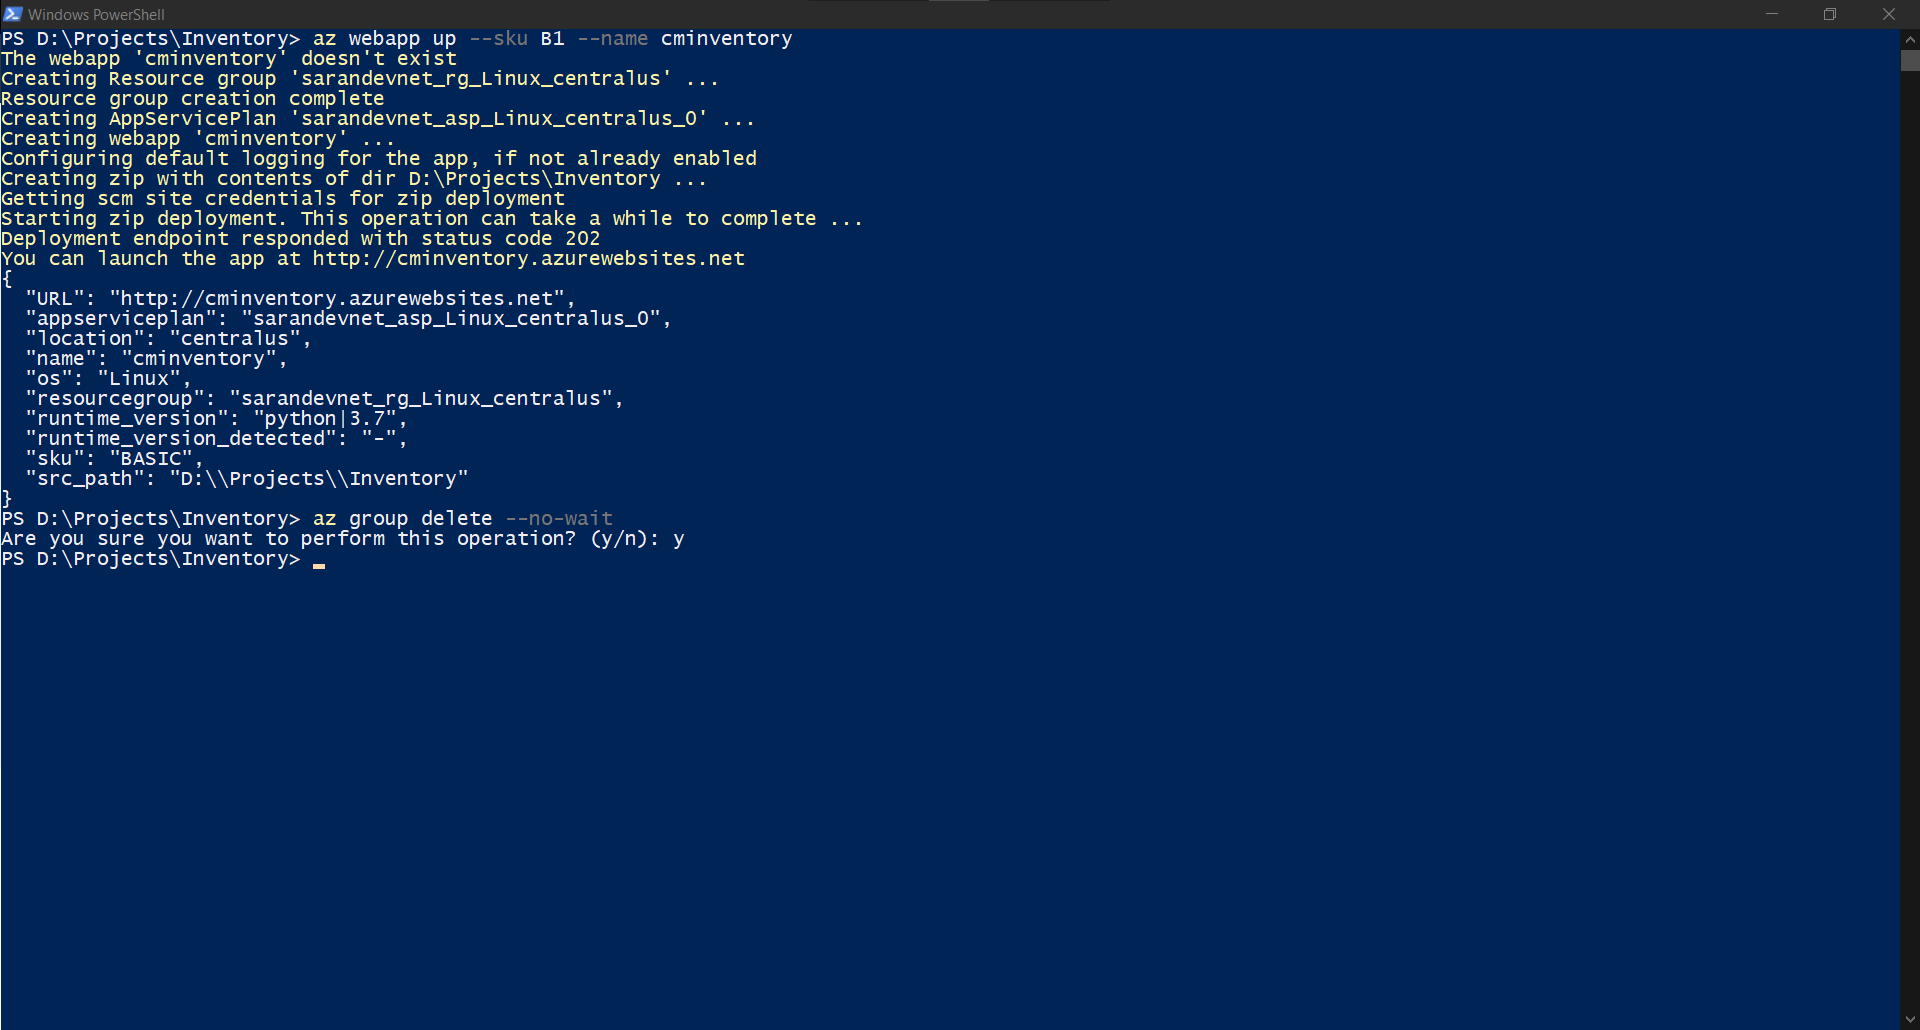
Step 7: After all the work completed, I cleaned up the resources running for the app using the command:
az group delete --no-wait
Conclusion: Loved the work and Python is Awesome! If you want the project code take a look here