In this task, I am going to deploy my own cloud using Next Cloud which is a suite of client-server software for creating and using file hosting services. It is also free and open source which allows us to install on our own private server. Let see how it goes...
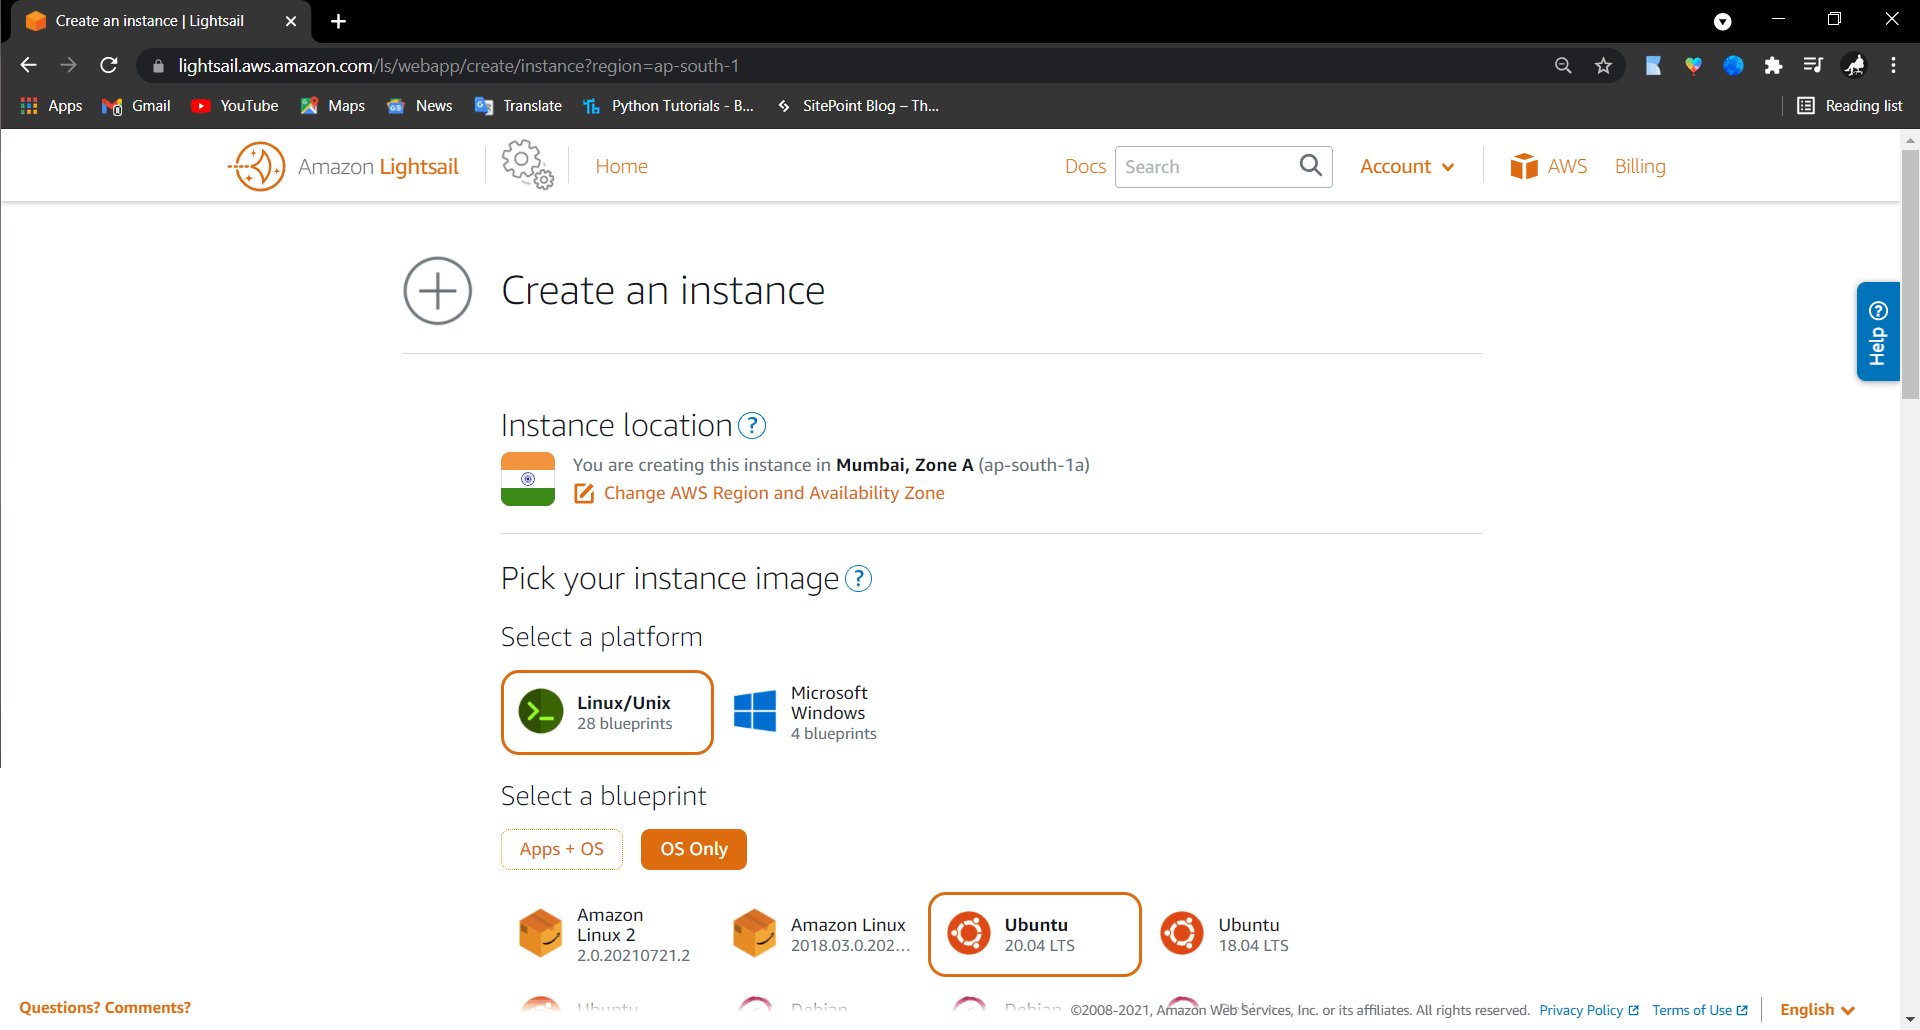
I opened the Amazon LightSail and chose the Ubuntu 20.04 LTS Operating System(Have a Reason)
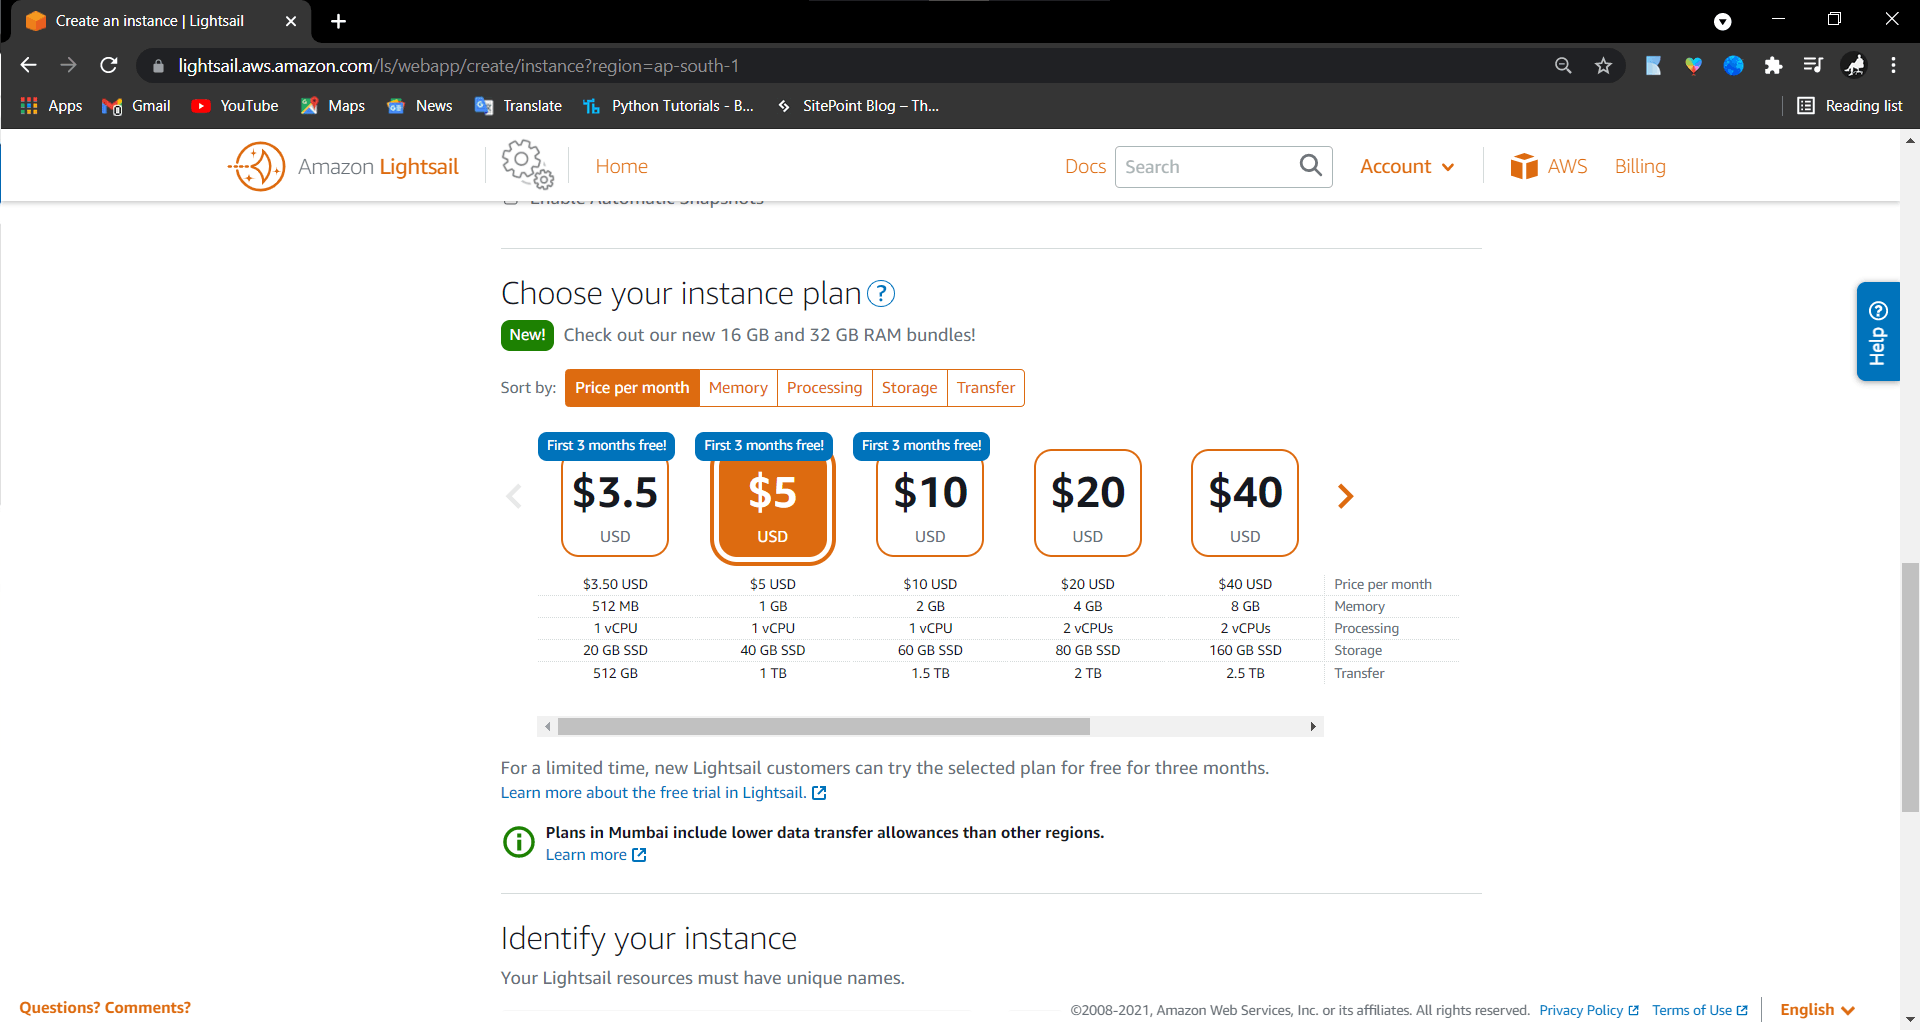
I chose the $5 plan faster usage which is also free for three months
After choosing the Instance type and gave the name as NextCloud and launched the instance.
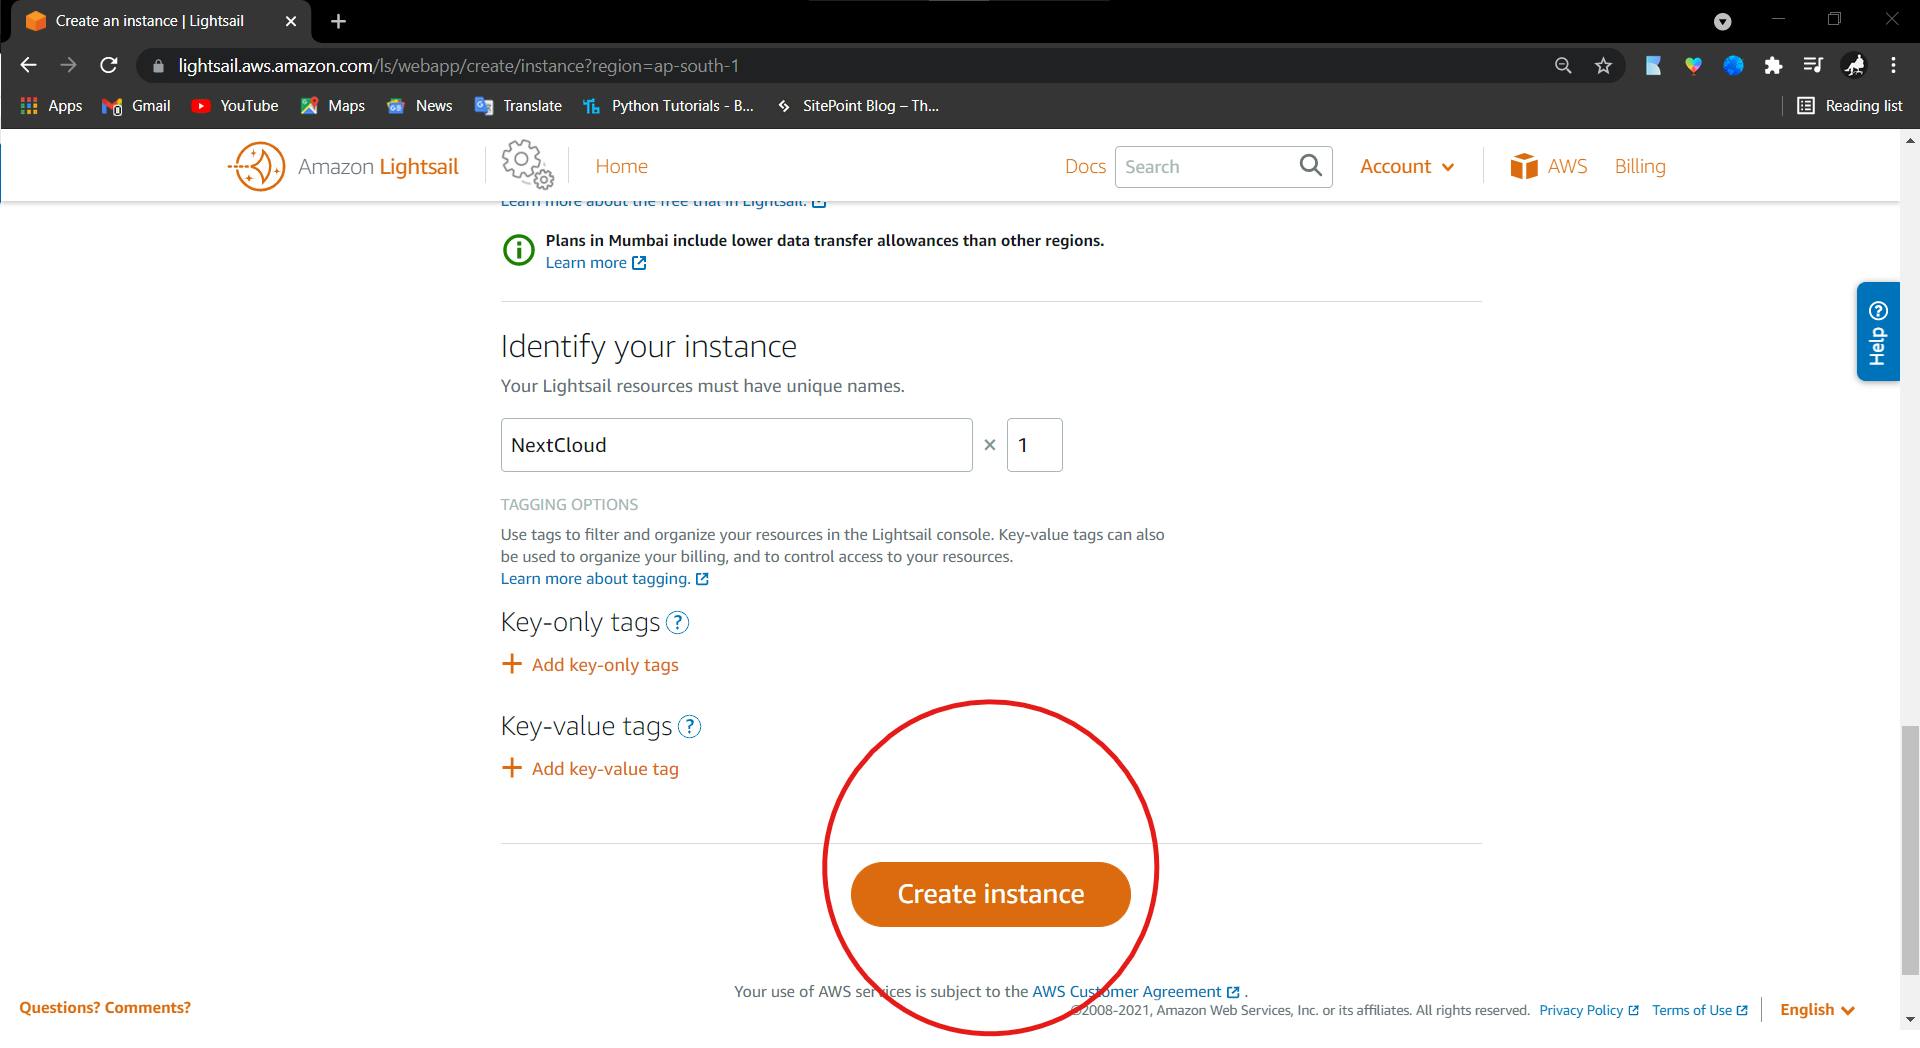
It took seconds and launched the instance for deploying the NextCloud
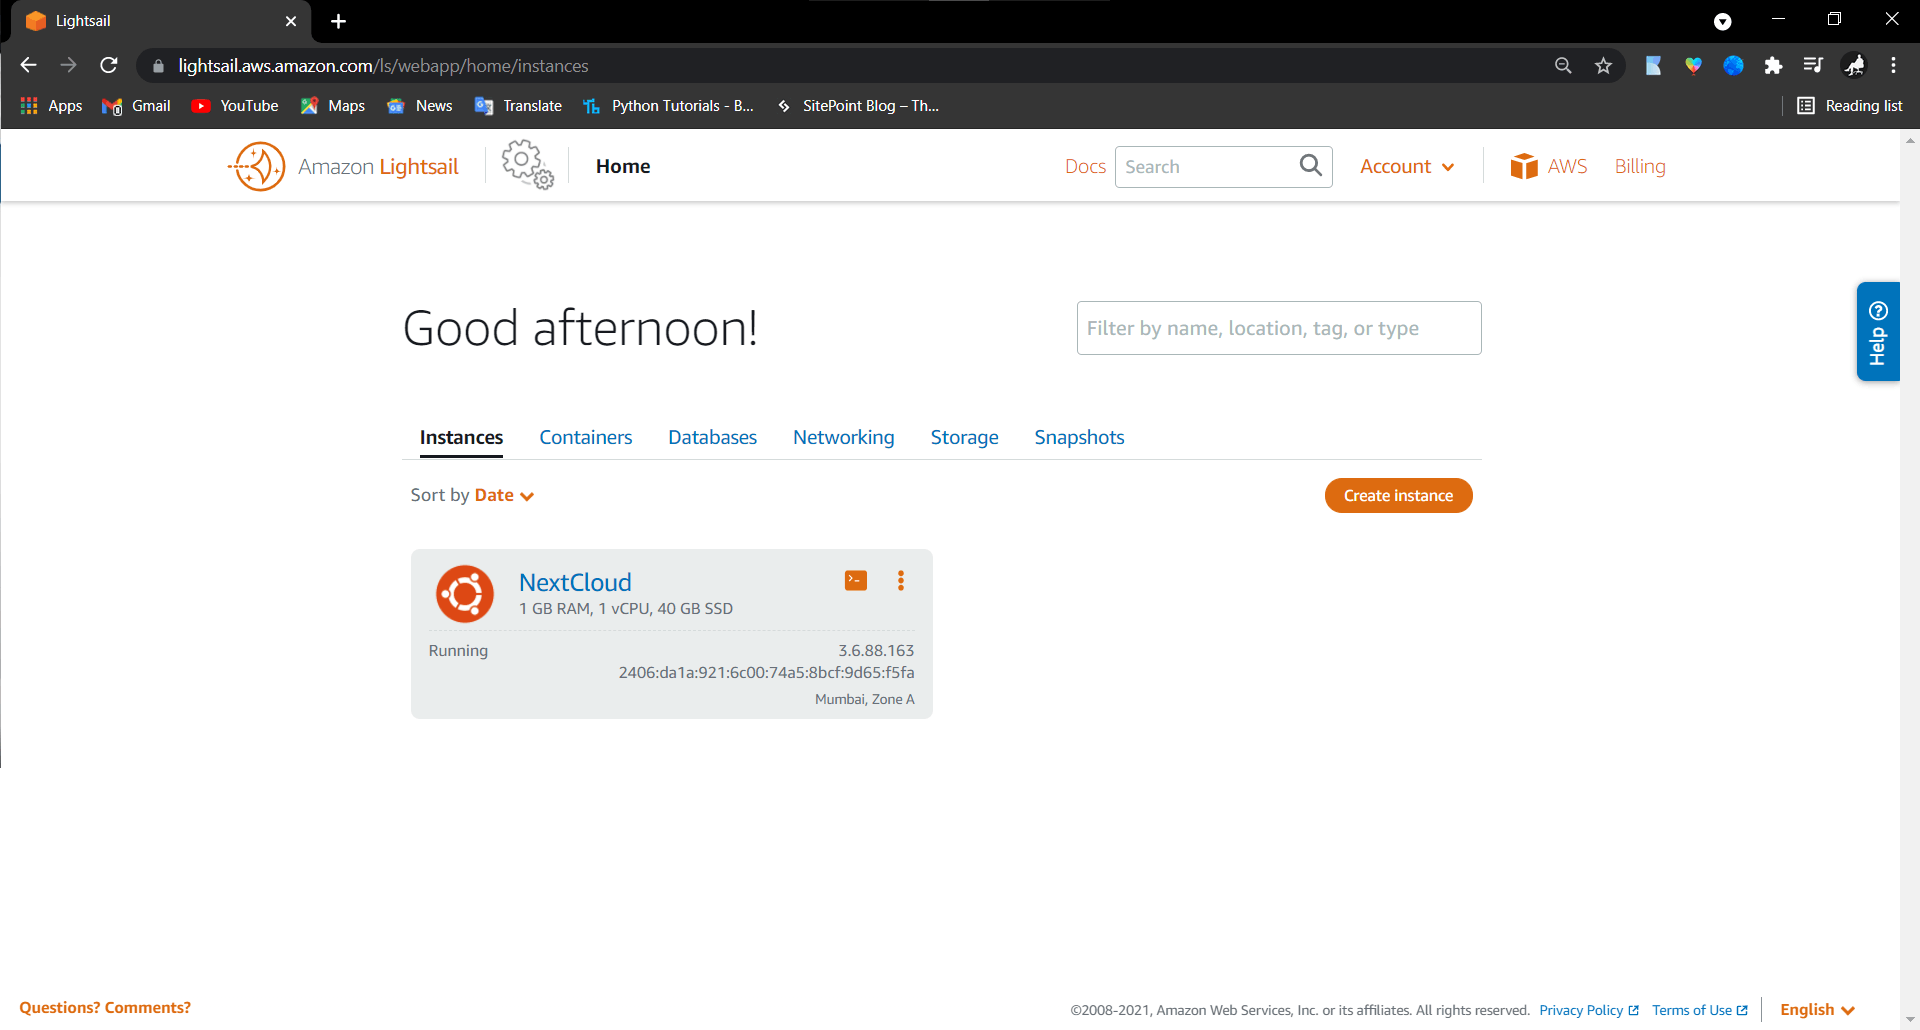
In the networking section, I added the HTTPS protocol for later usage and since this is just testing deployment, avoided the static IP and used the existing public IP
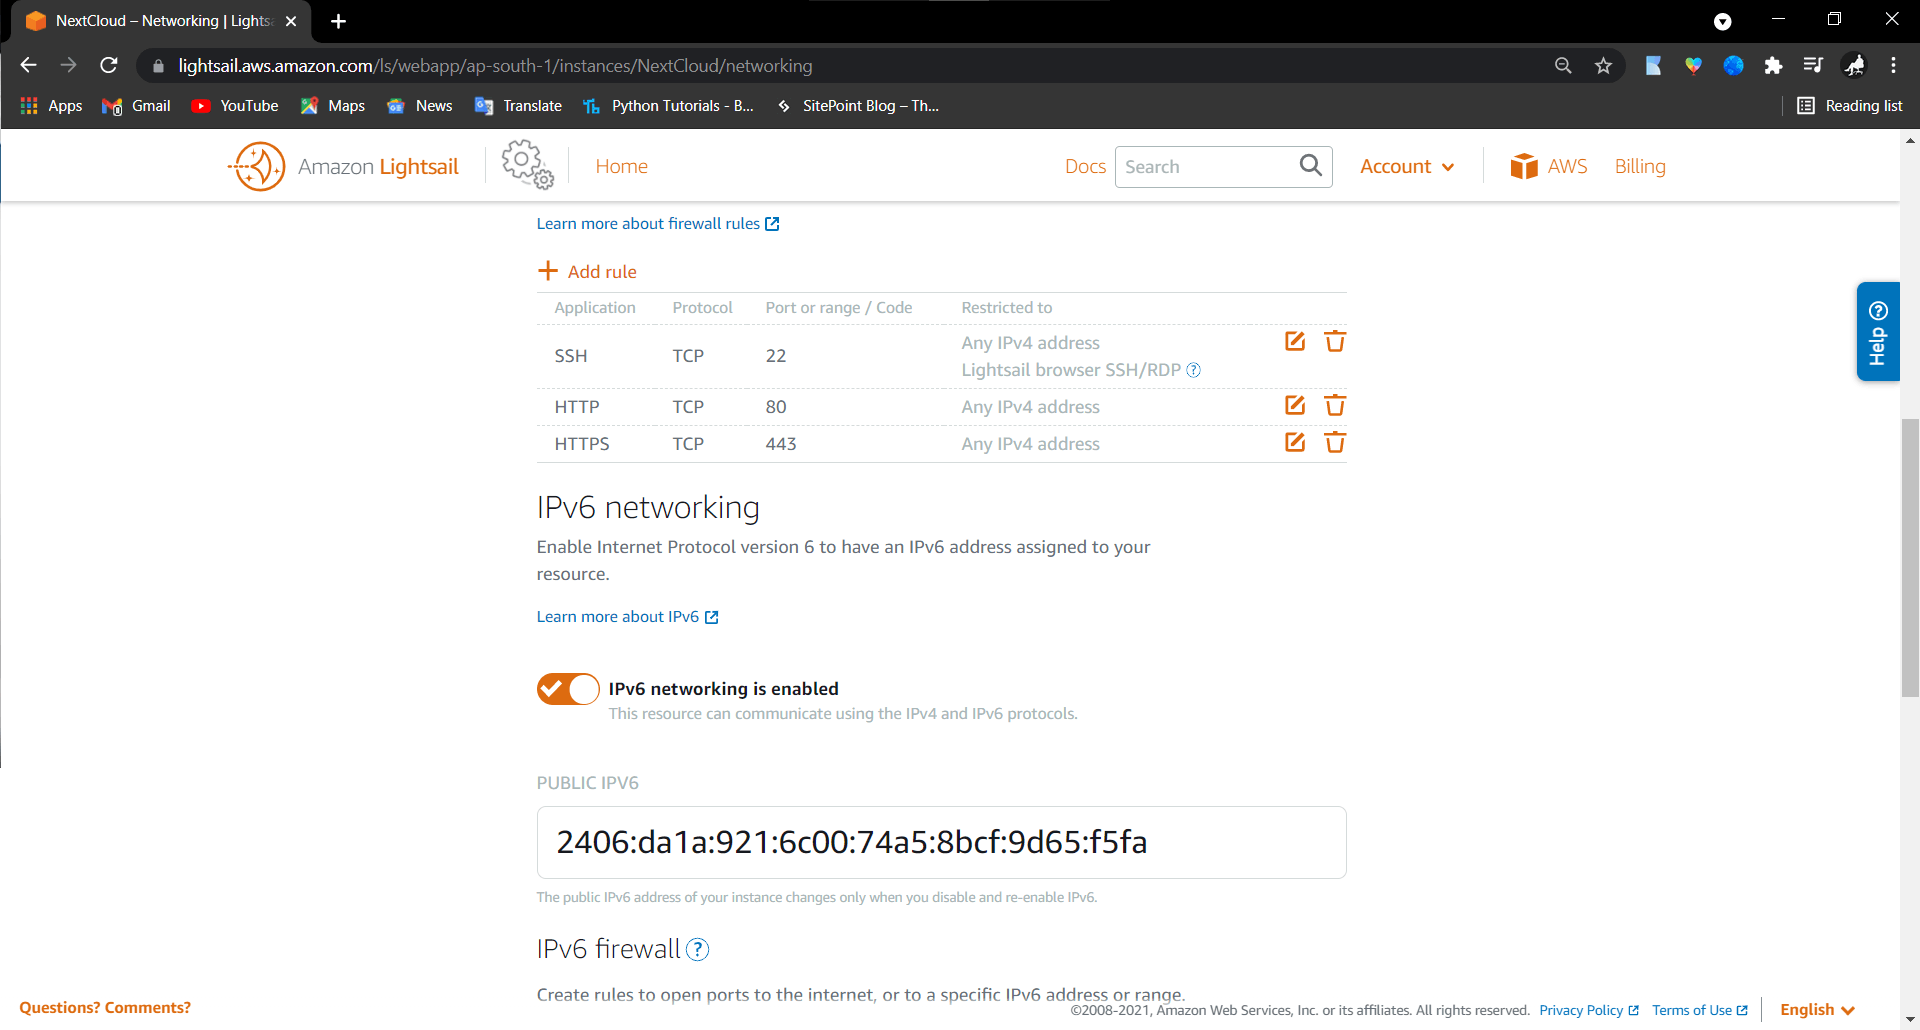
After the configurations, Launched the SSH using the browser
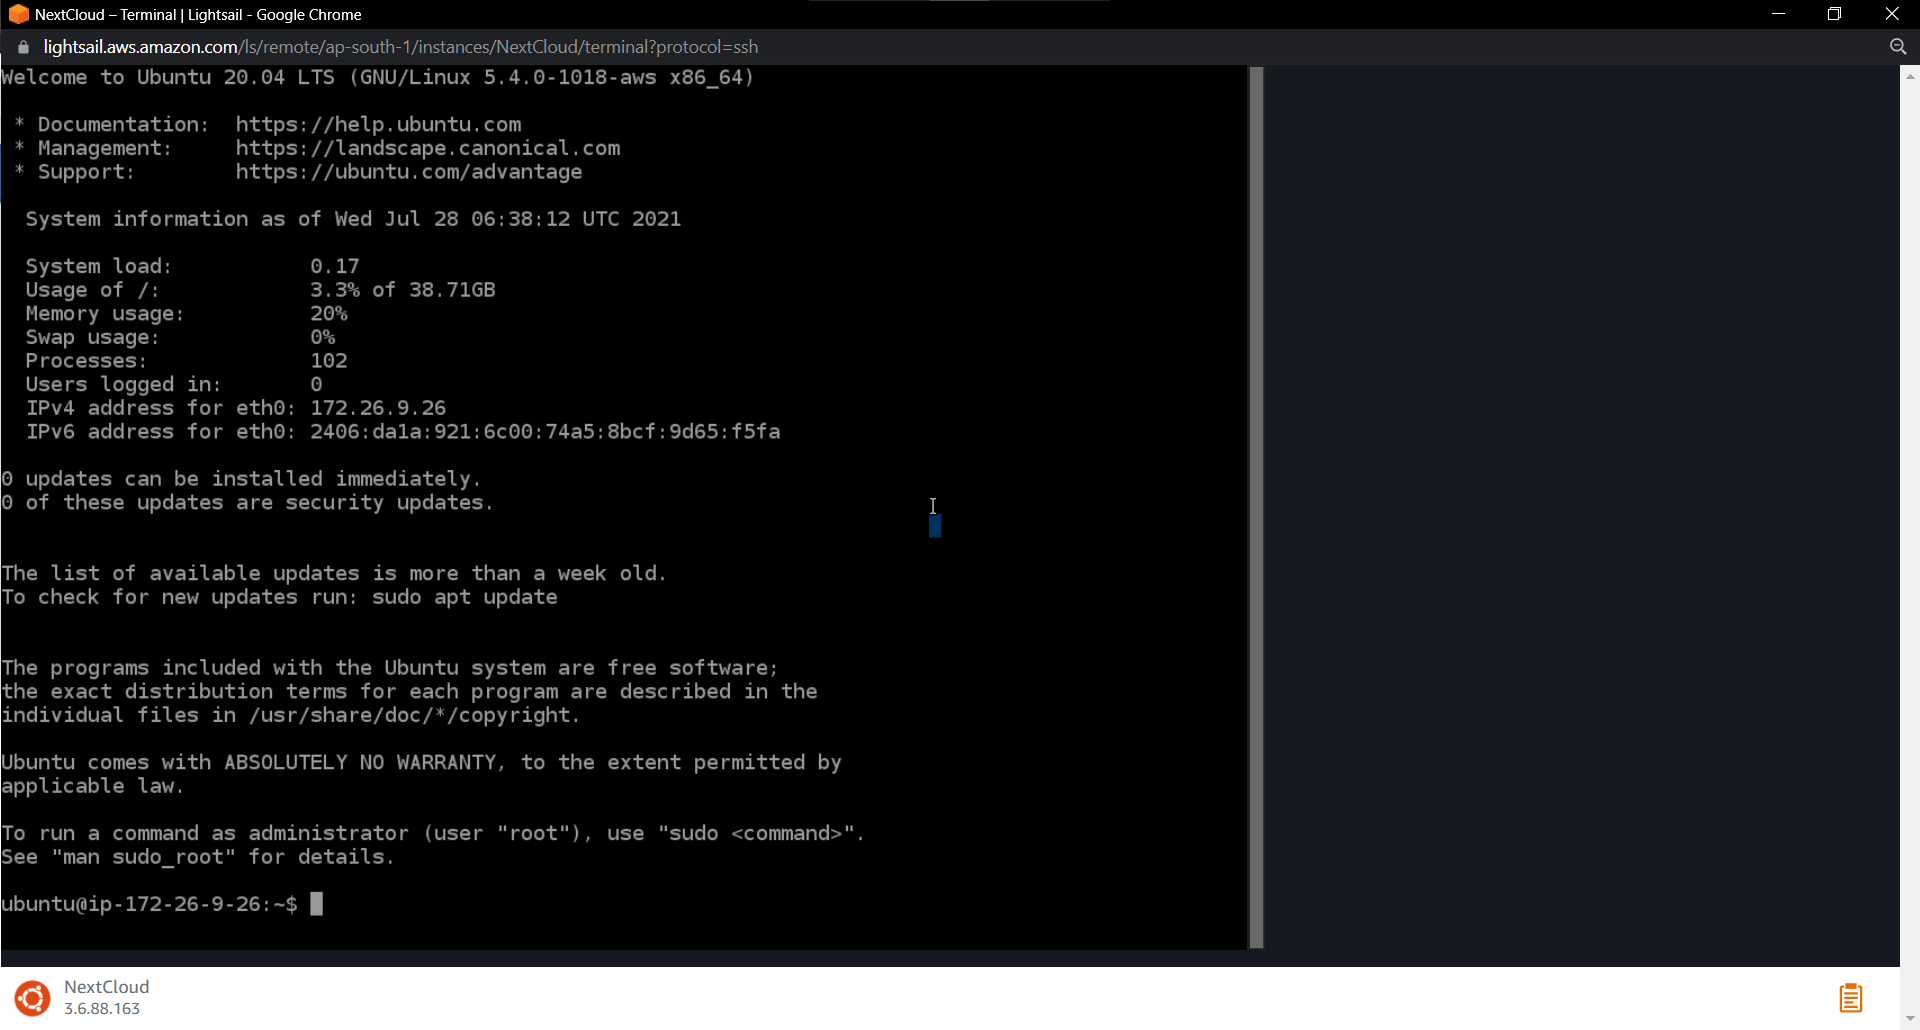
I updated and upgraded the instance for the latest packages
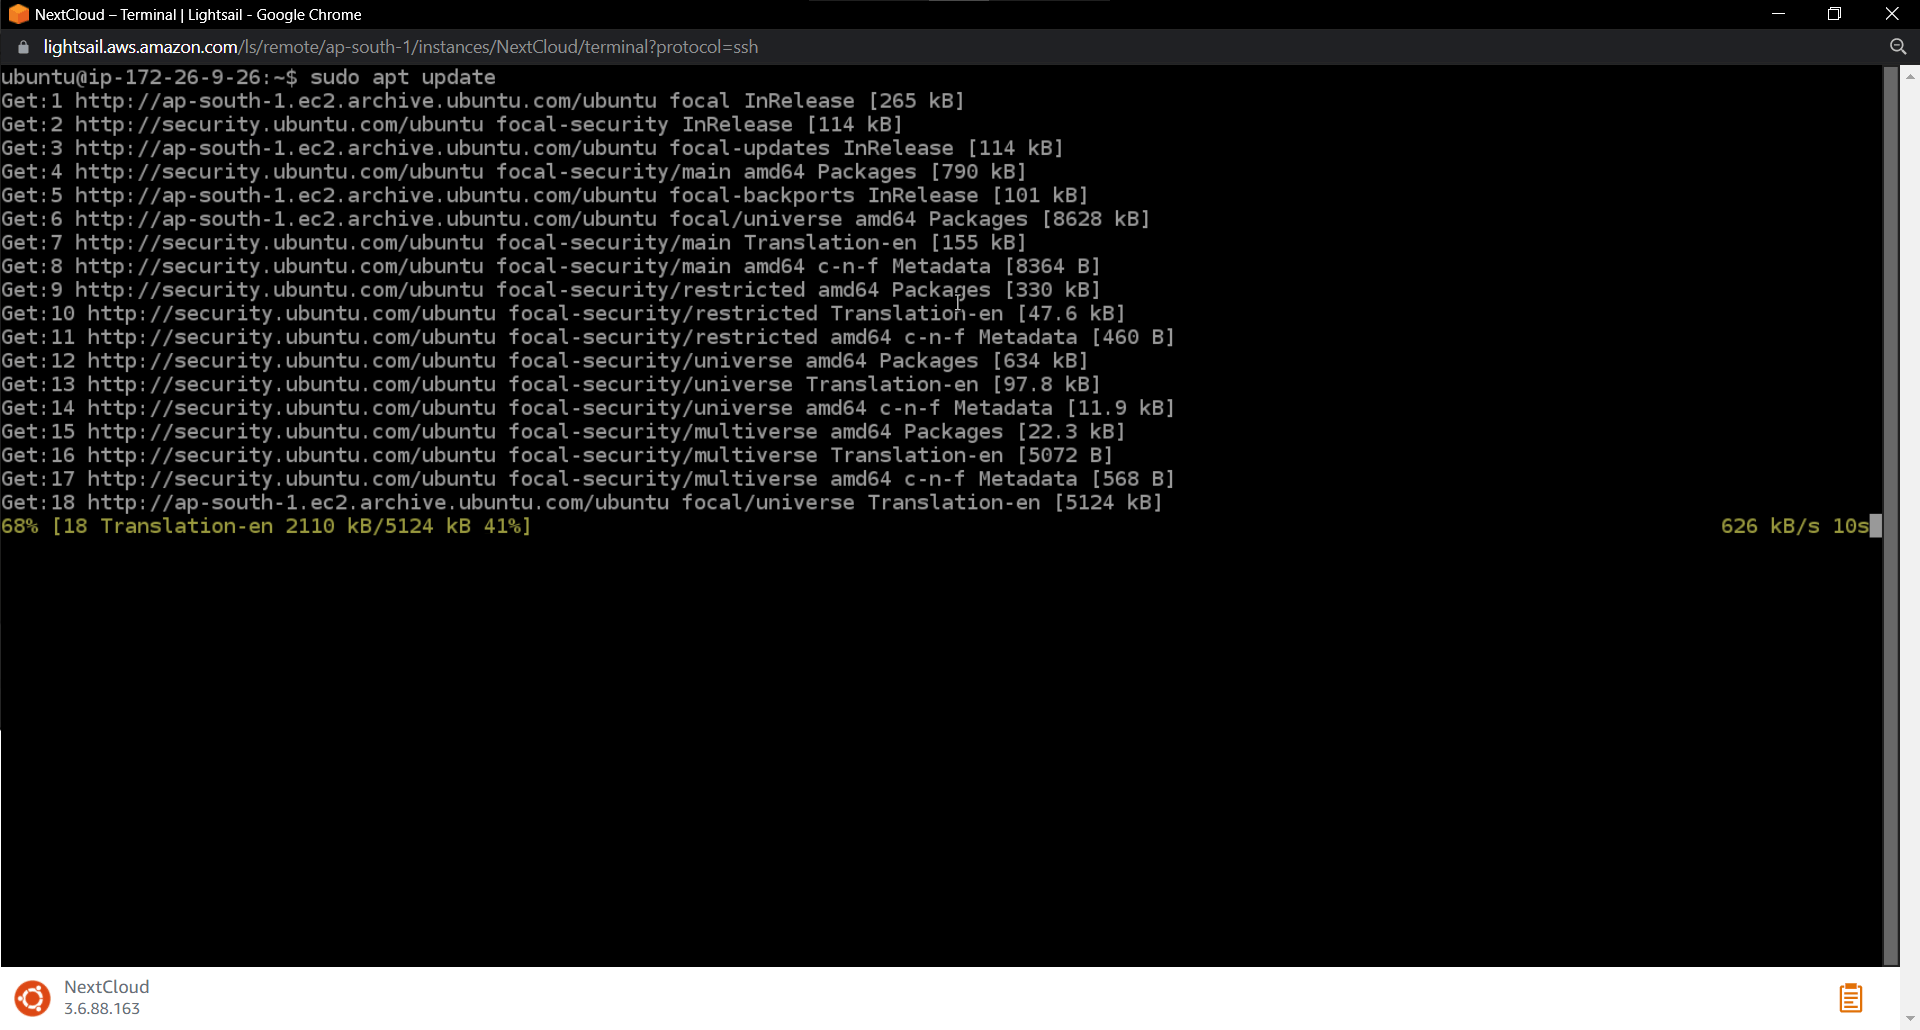
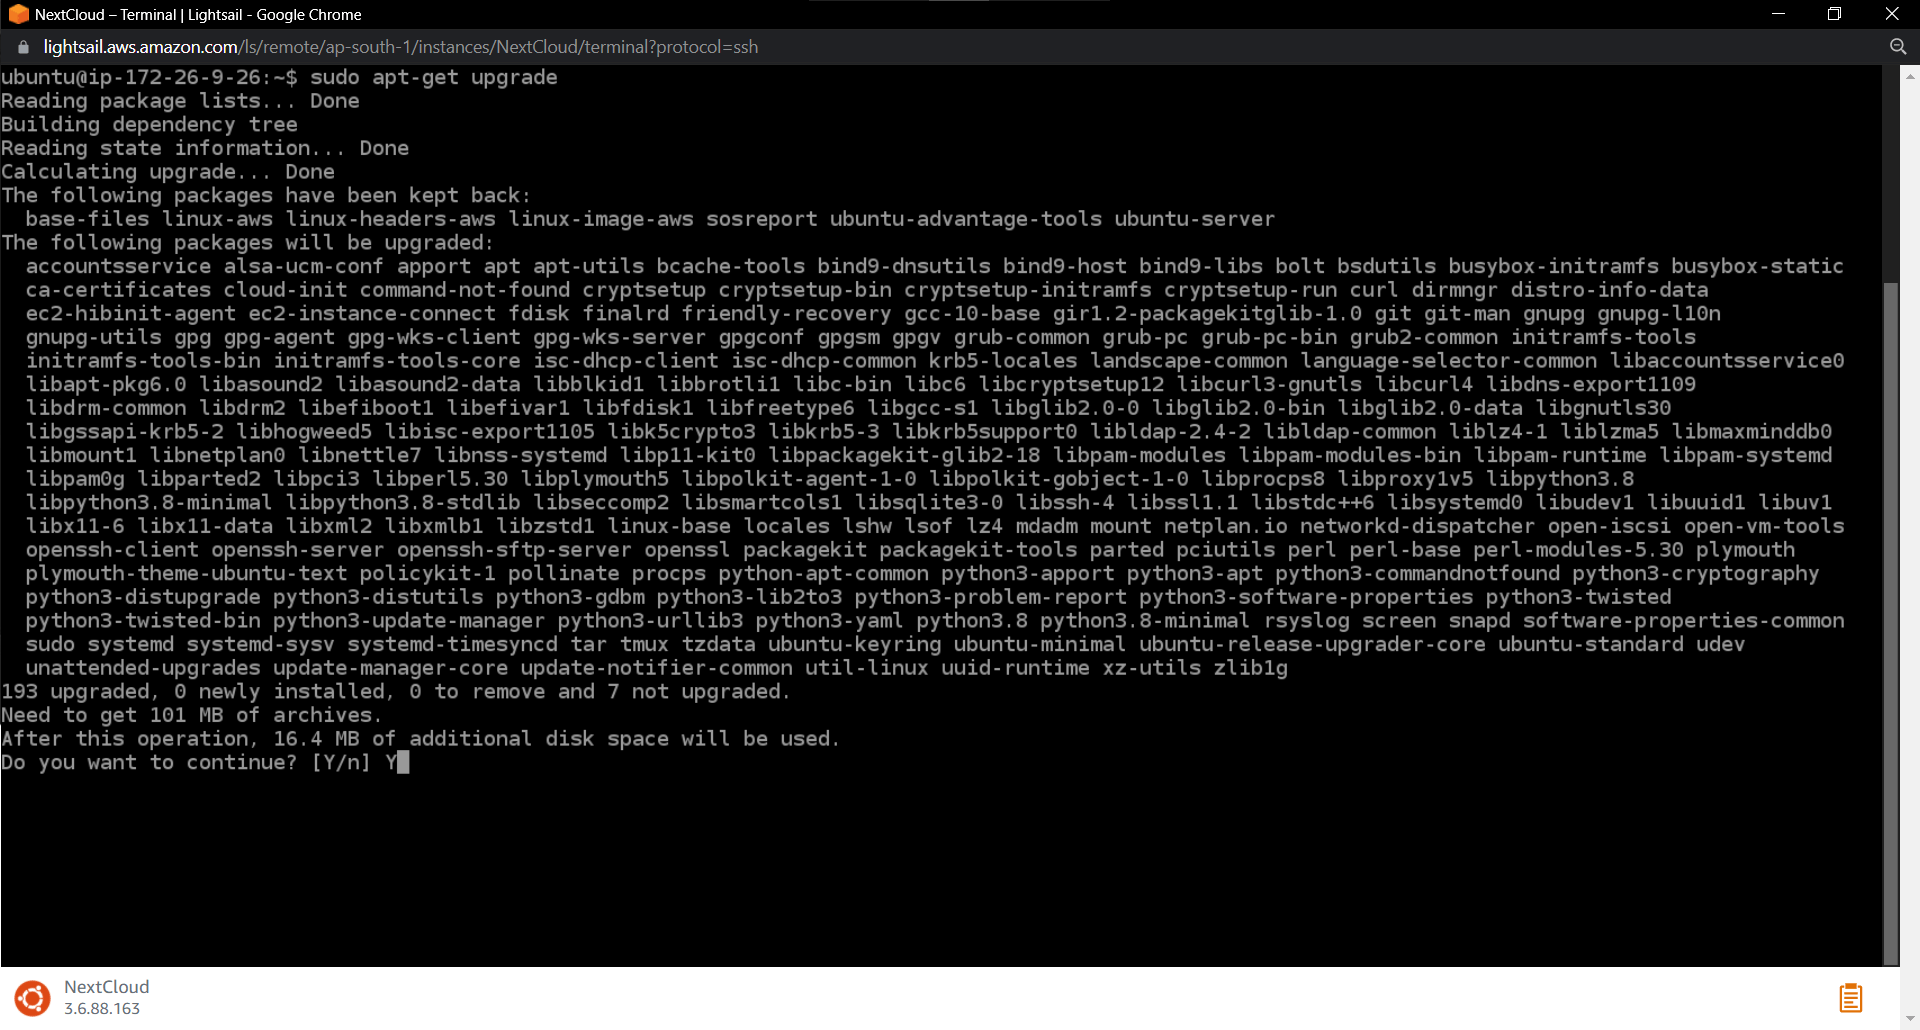
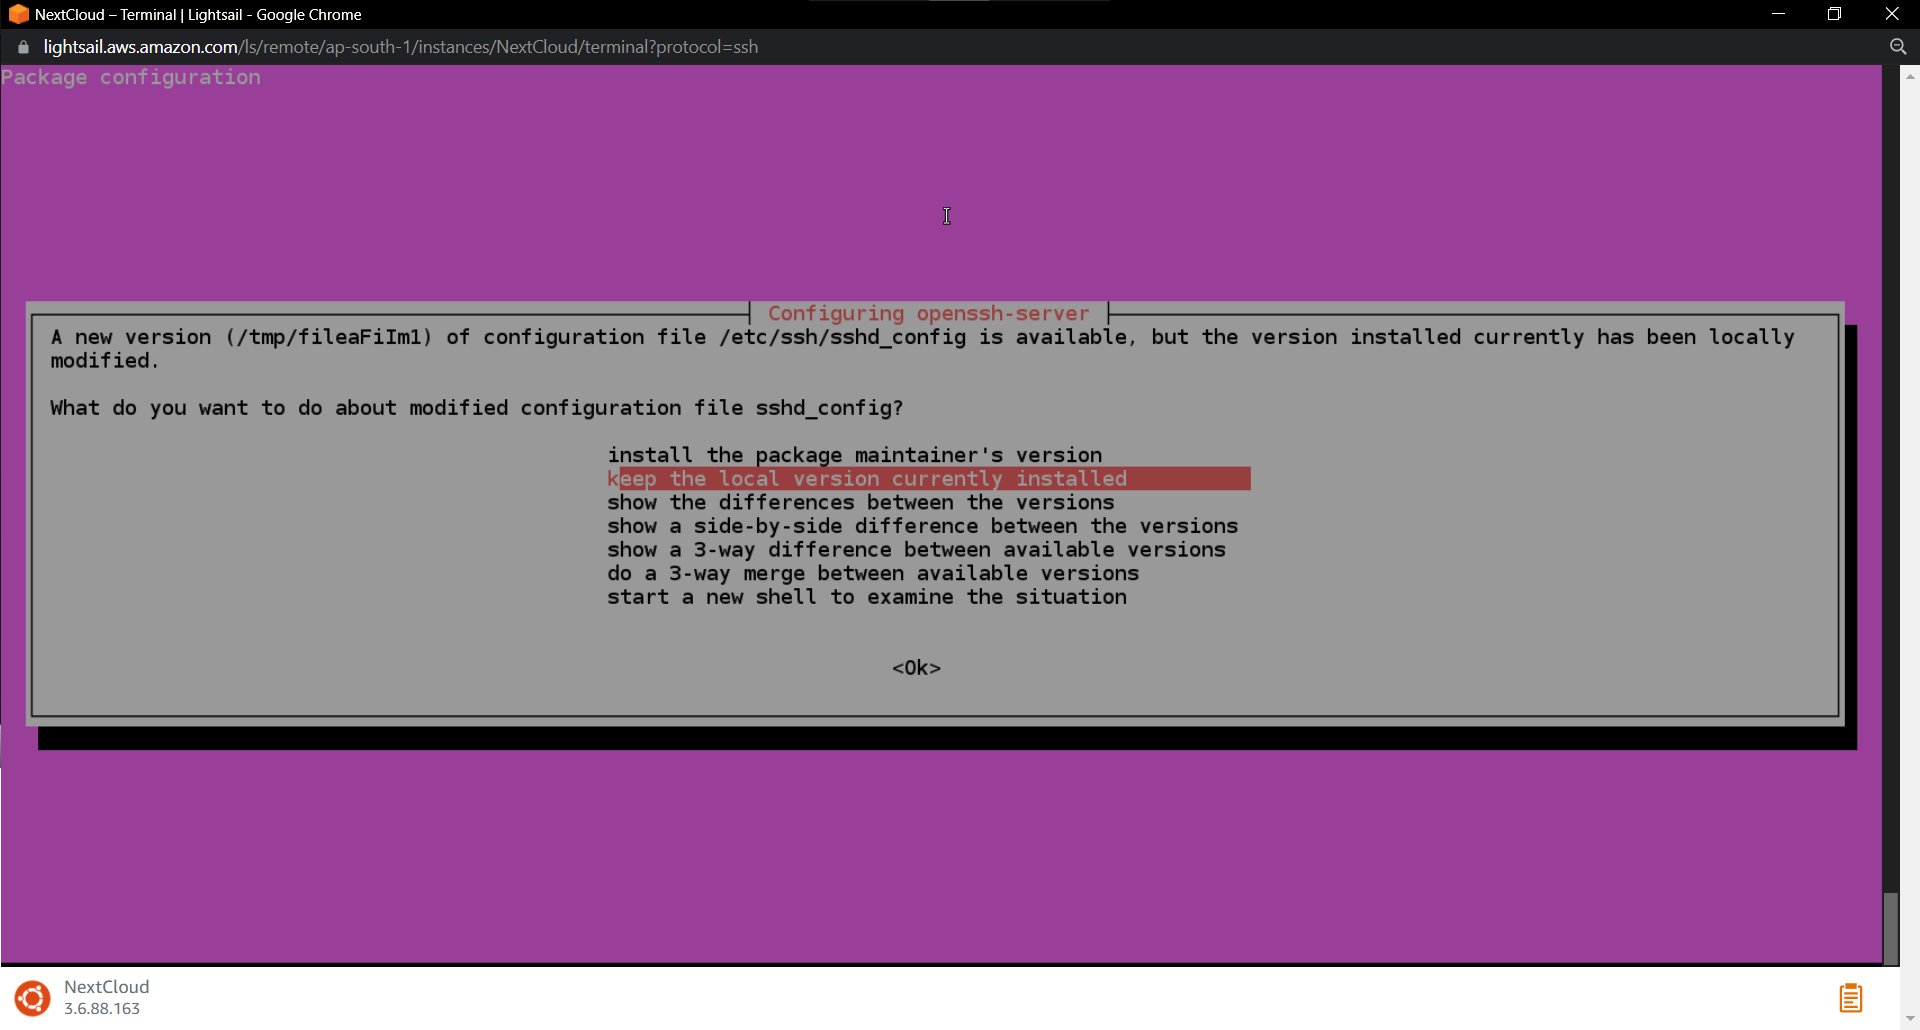
During the upgrading process, it asked me What to do about the modified configuration and I chose the Keep the local version currently installed. (Don't what that is...Anyone know Please Explain in the comments section)
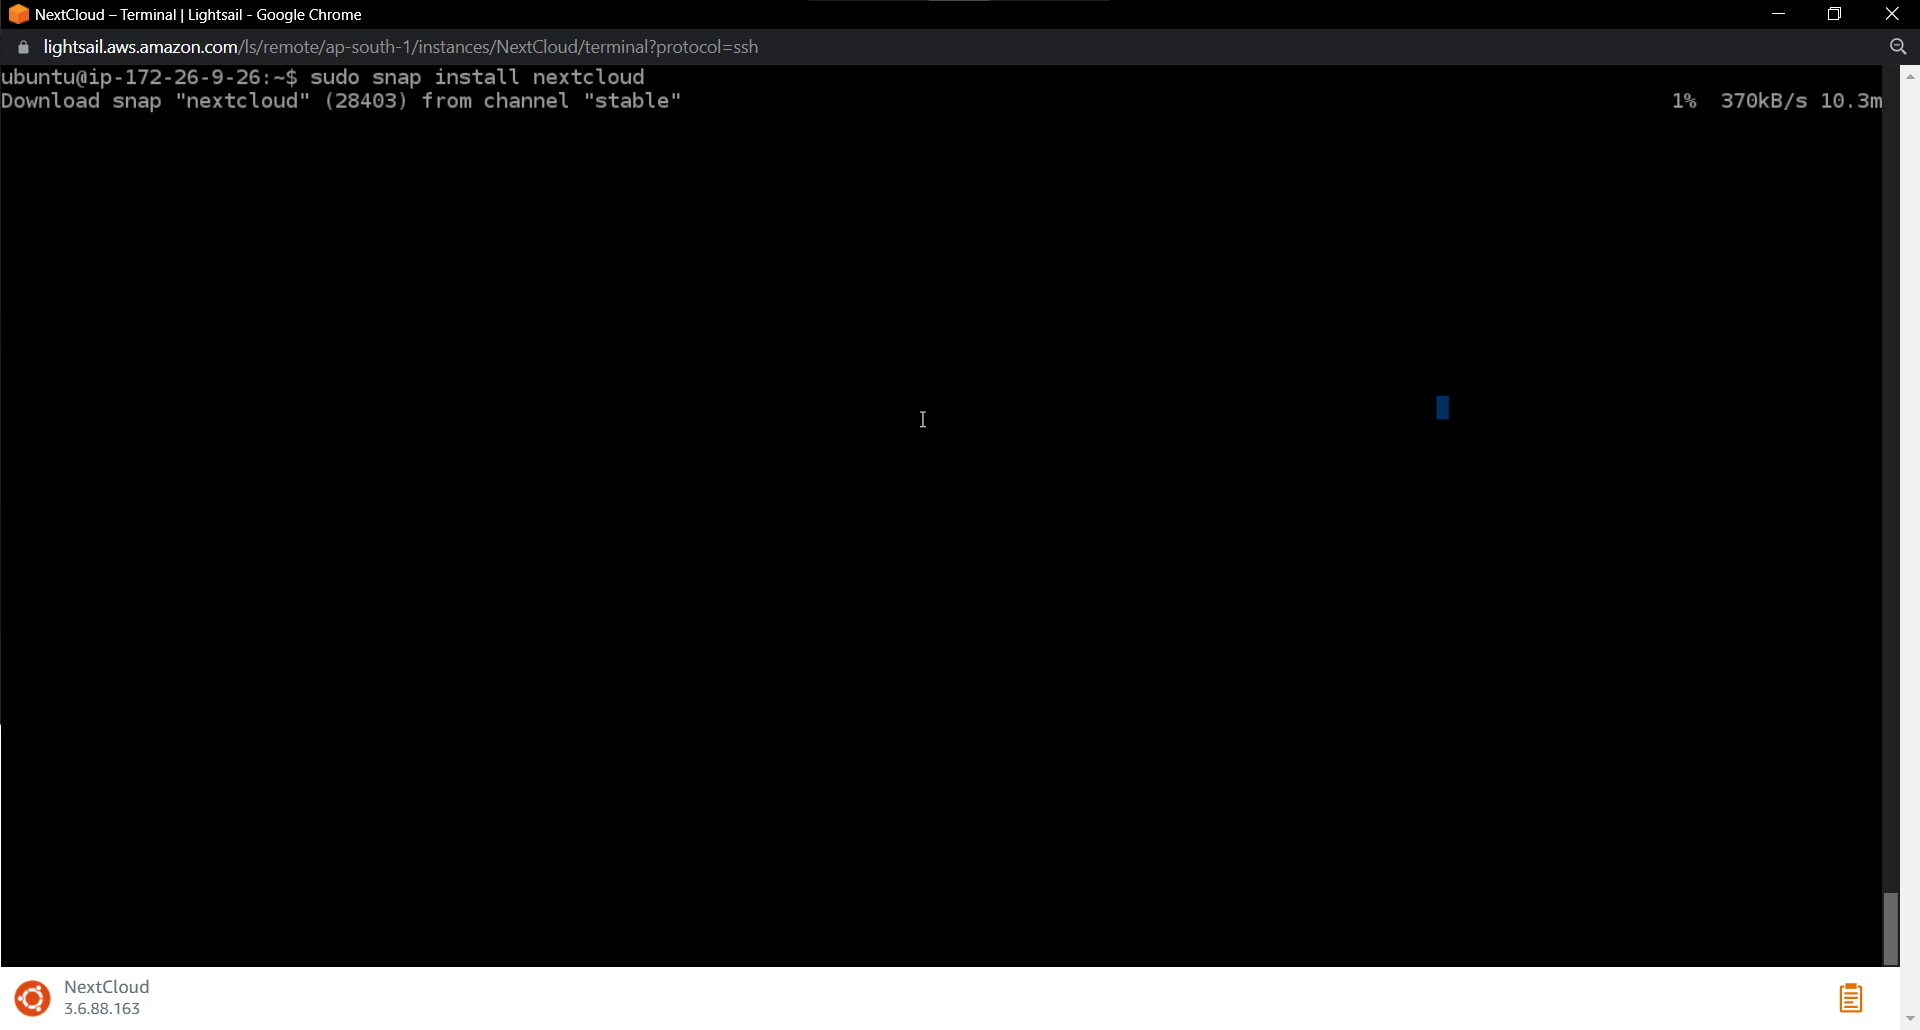
As I chose the Ubuntu OS, it comes with a package manager called snap which makes this process easier and I installed the NextCloud using snap.
sudo snap install nextcloud
After the installation, configured the nextcloud for login using the command
sudo nextcloud.manual-installation <username> <password>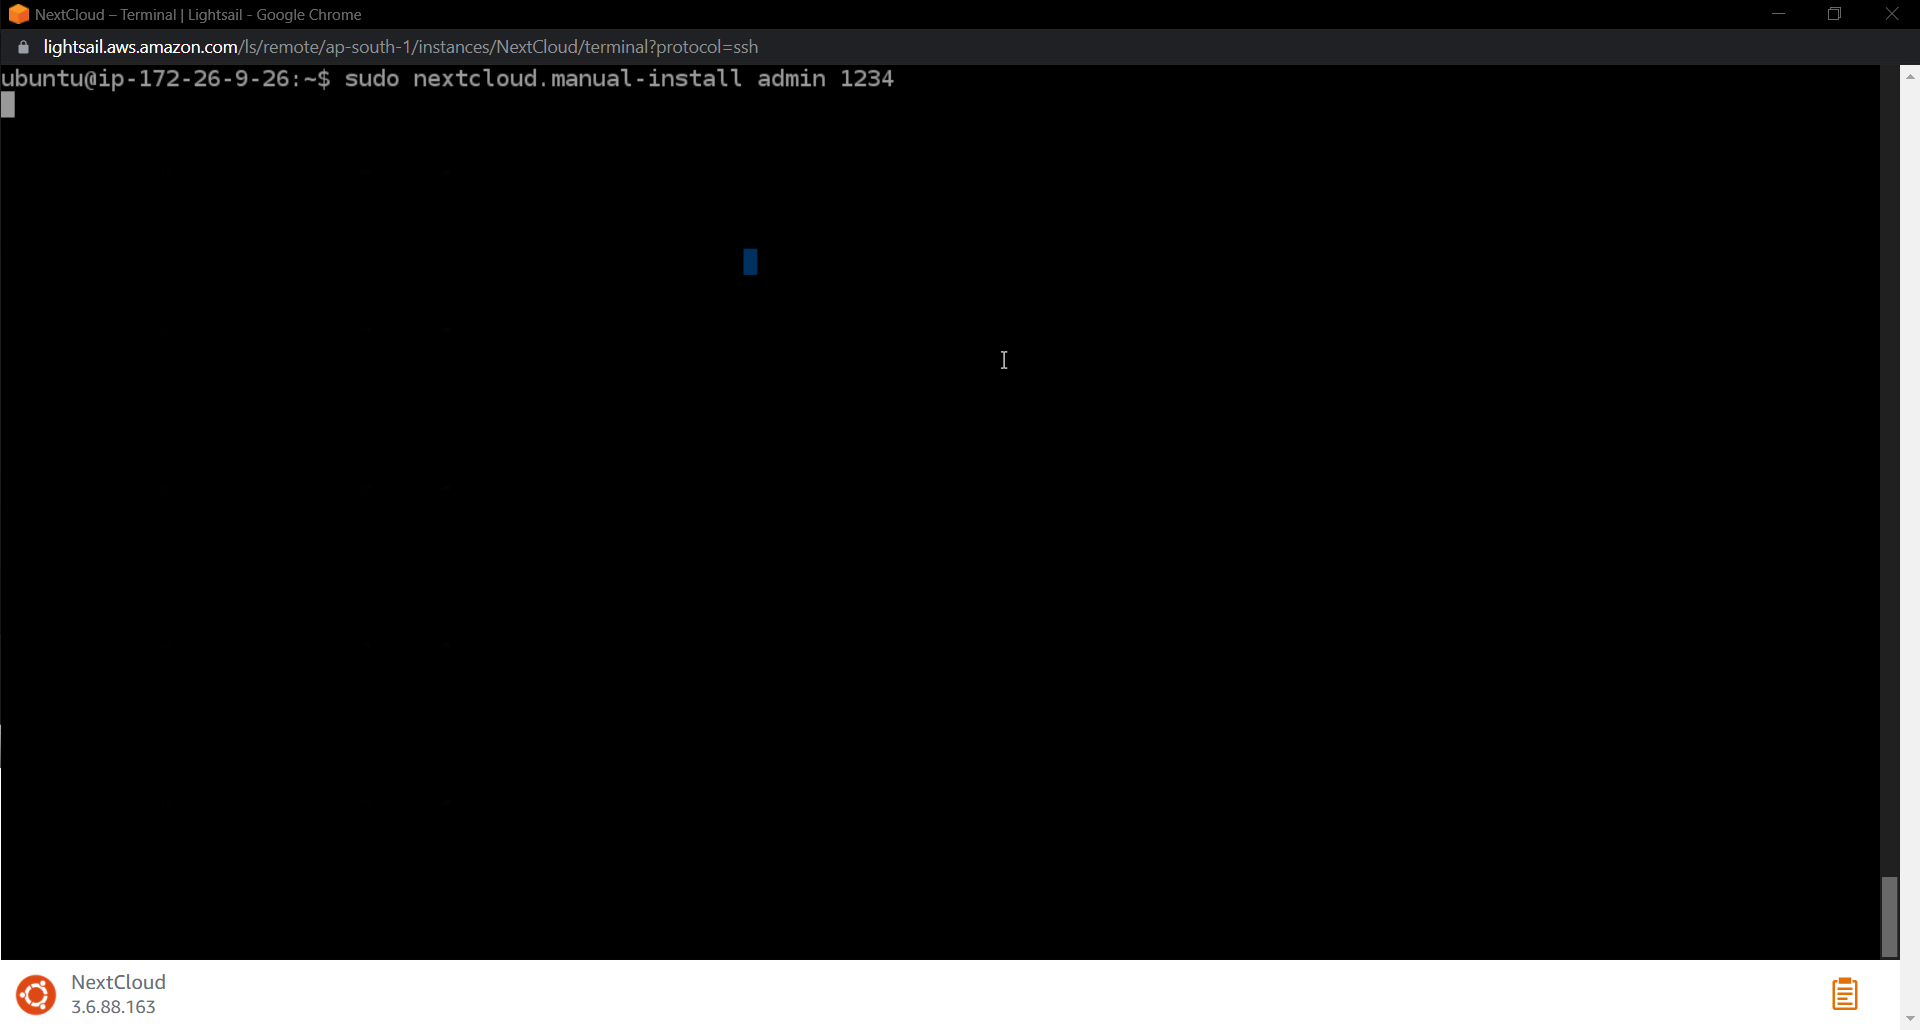
When I looked about doing this work, Many of them integrated their sub-domain with this instance and that instance as trusted domain but I am not interested in doing that so I added the Public IP as the trusted domain.
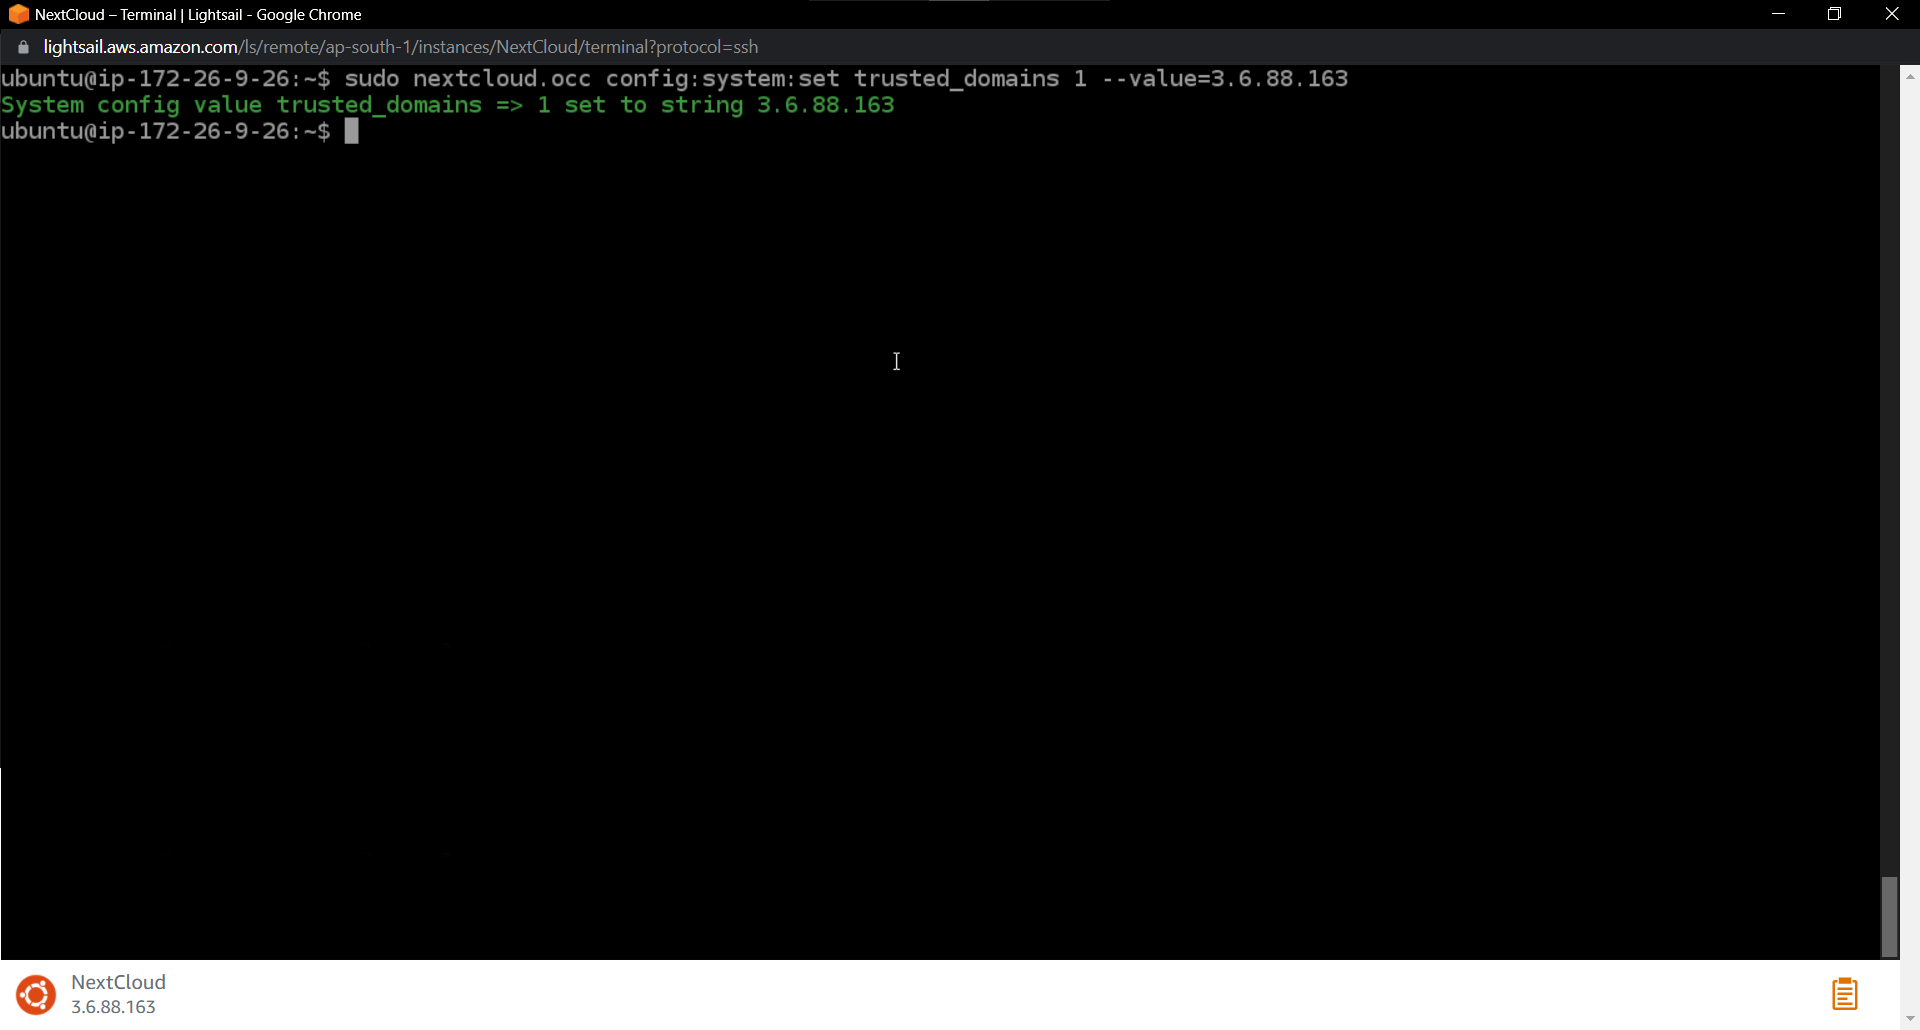
Forget to provision SSl during the process(But its ok!) If you want to provision SSL use the command : sudo nextcloud.enable-https lets-encrypt this will automatically provision the SSL Certificate
Then I opened the Public IP on the browser and gave the credentials to log into it.
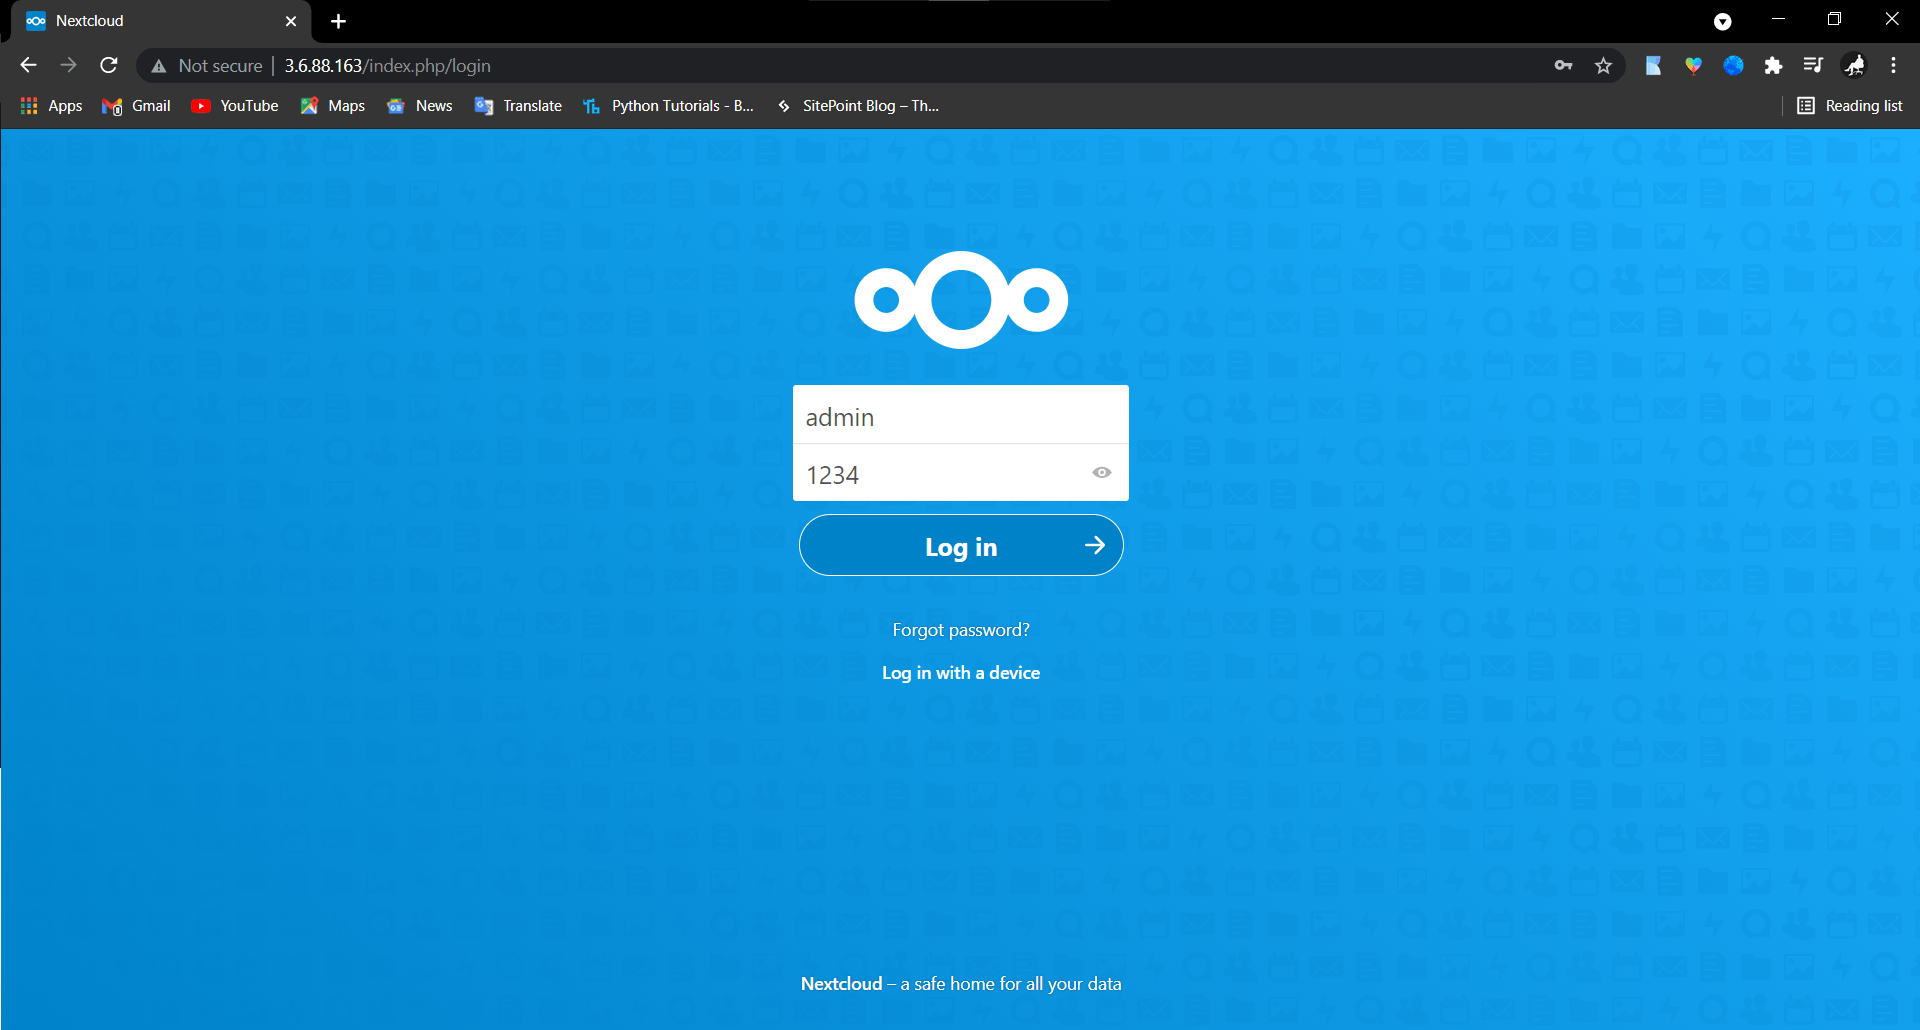
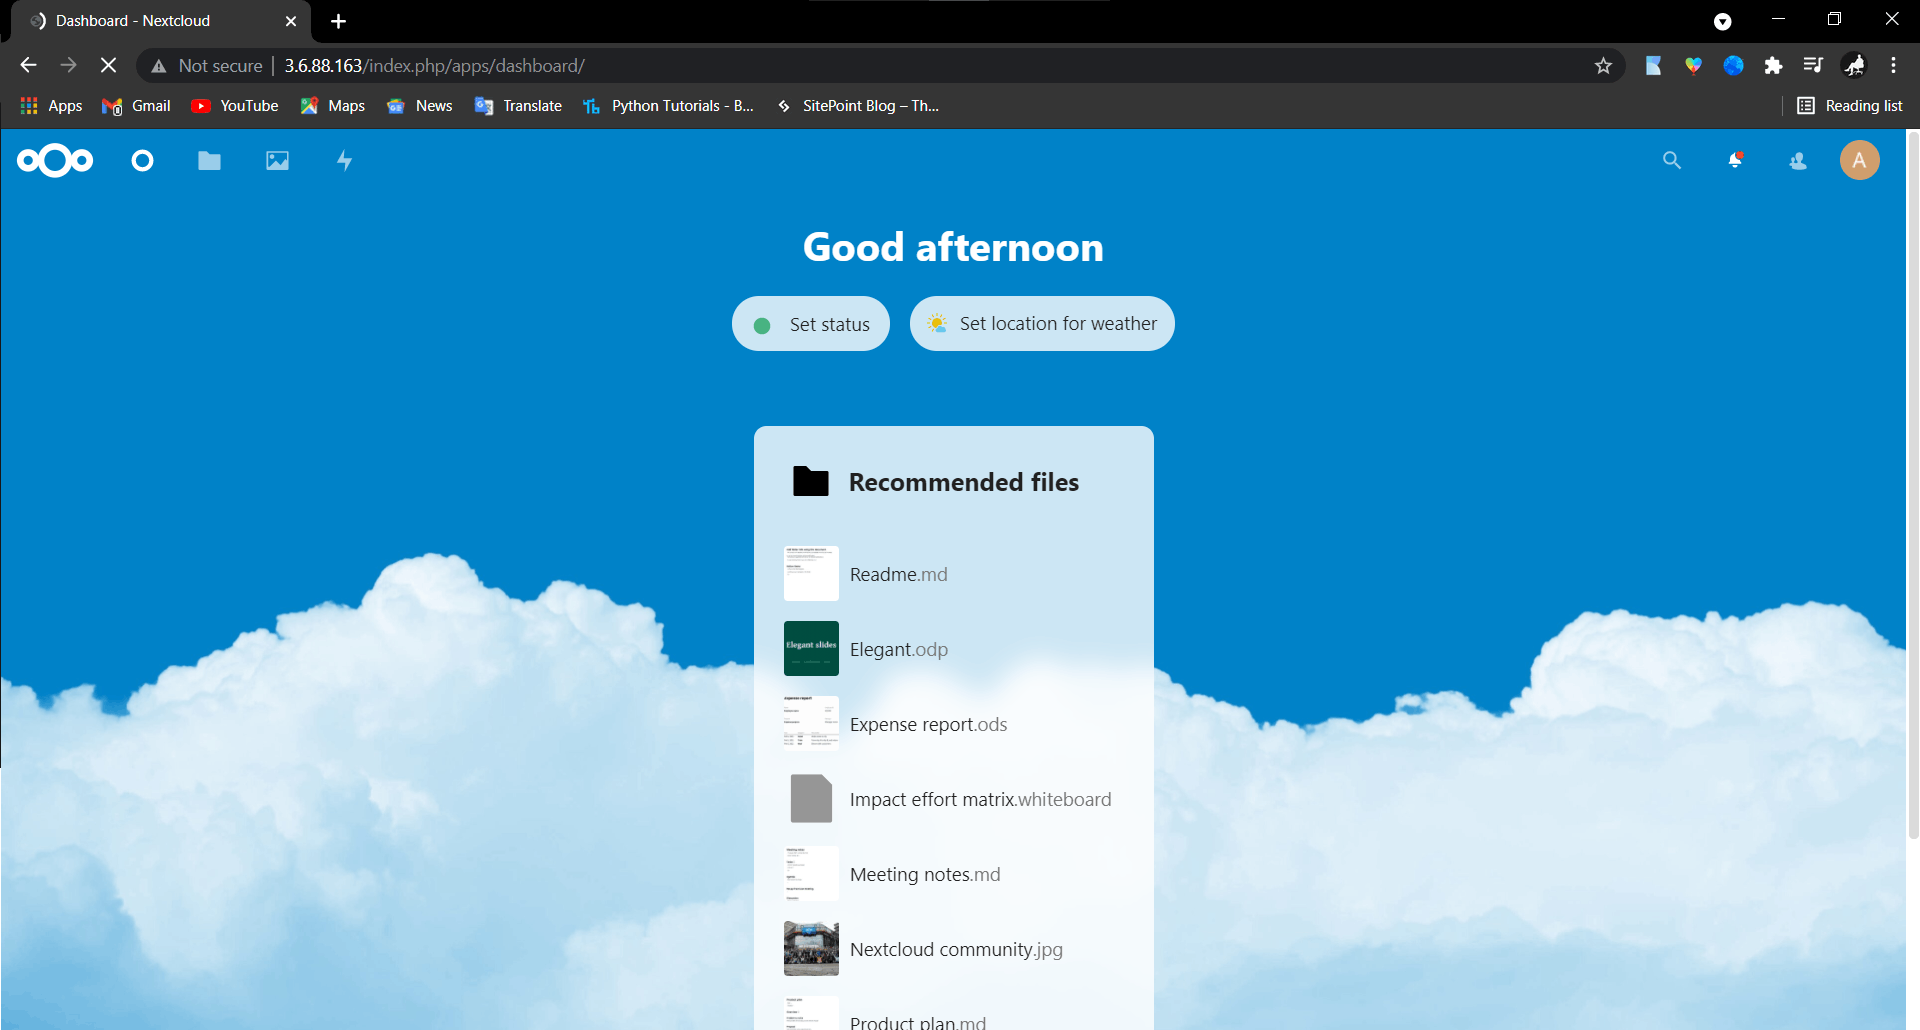
After the successful login, I got my own personal cloud to store files and manage work
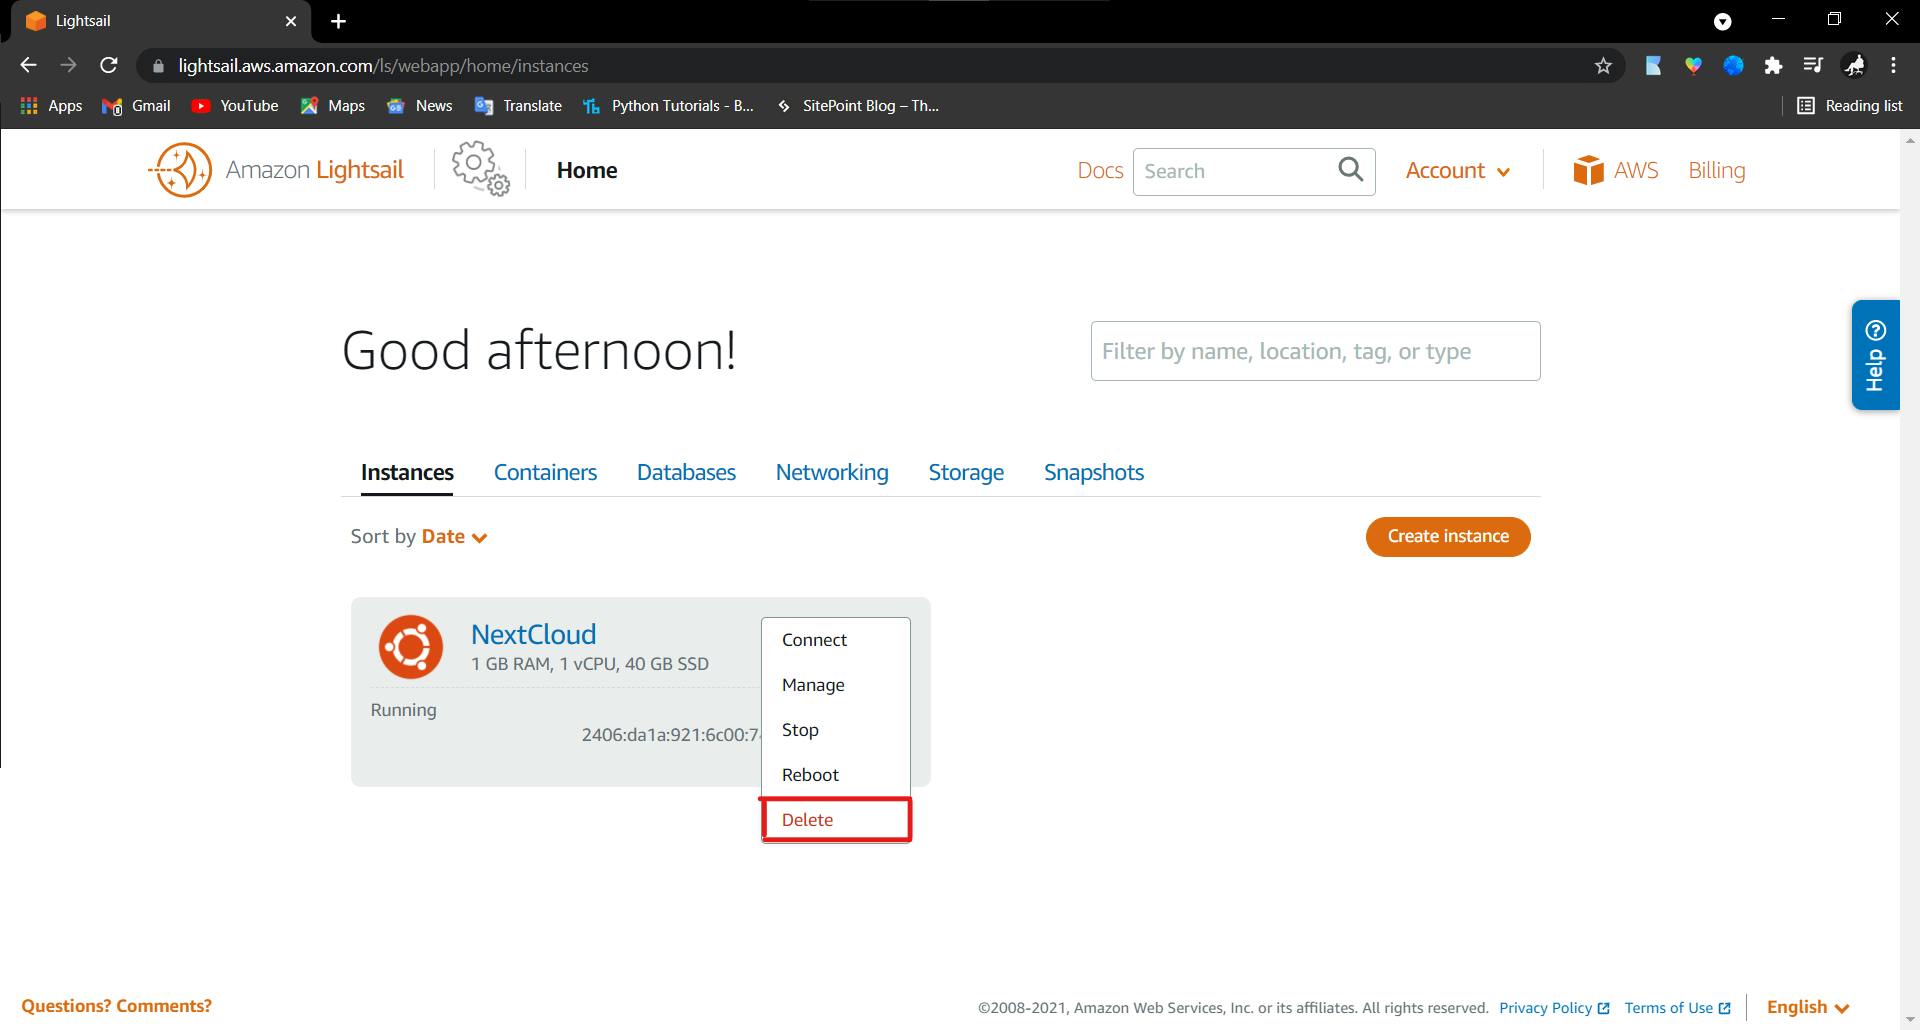
Since this is a test installation, I terminated the instance to avoid charges
Conclusion
NextCloud had an awesome interface and tons of features. I am considering to open my own cloud in the future.

